


Set up your wallet
The Expensify Wallet allows you to send and receive peer-to-peer payments, such as expense reimbursements or transfers between colleagues. To use it, you’ll need to connect a personal bank account and verify your identity.
Enable Your Expensify Wallet
To get started:
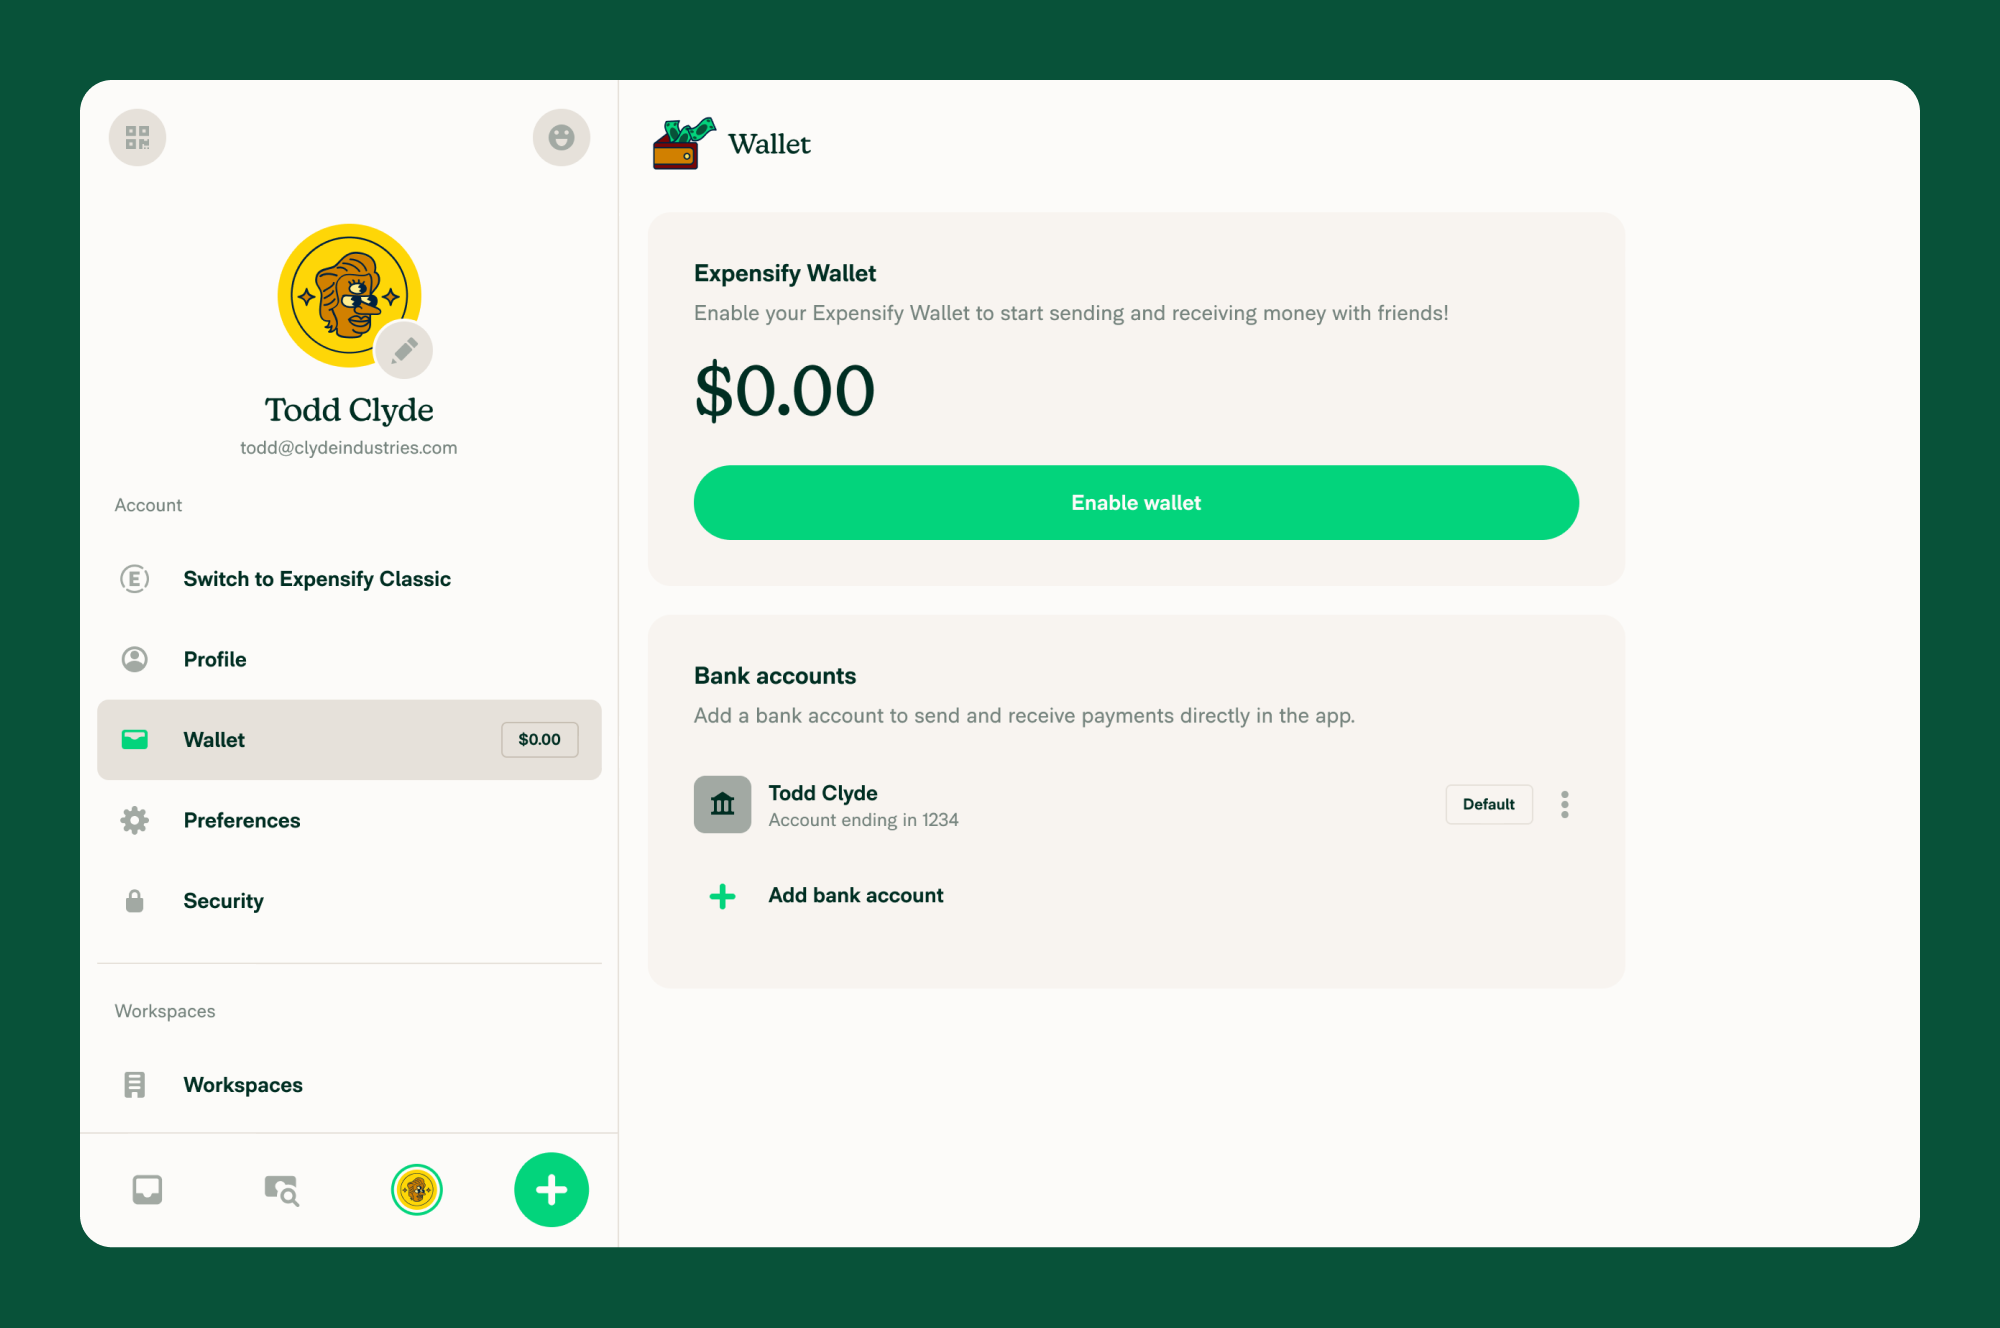
- In the left-hand navigation bar (LHB), click Wallet.
- Click Enable Wallet.
Connect Your Personal Bank Account
If you haven’t already connected a personal bank account, you’ll be prompted to:
- Click Continue.
- Follow the steps to connect a personal bank account via Plaid.
Note: Plaid is a secure, third-party service used to safely connect your bank account to Expensify. Your credentials are never stored or shared by Expensify.
If you’ve already connected your account, you’ll skip this step.
Enter Personal Information
You’ll be asked to enter the following:
- Full legal name
- Residential address
- Date of birth
- Phone number
- Last 4 digits of your Social Security Number (SSN)
Click Save & Continue to proceed.
Complete Identity Verification with Onfido
- Review and accept the Onfido terms.
- Choose a method to verify your identity on your mobile device:
- QR Code
- Text message
- Secure link
- On your mobile device, follow the prompts to:
- Take a clear photo of your government-issued ID
- Submit a short selfie or video (as prompted)
Note: Onfido is a secure identity verification provider. Expensify uses Onfido to meet compliance and security standards. Once completed, Onfido will close automatically and return you to your Expensify Wallet.
Wallet Activation Complete
When verification is successful, your Expensify Wallet will be fully enabled. You’ll be able to:
- Receive and send peer-to-peer payments
- Get reimbursed for expenses
- Transfer funds with no additional fees