


Receive and Pay Bills
Easily receive and pay vendor or supplier bills directly in Expensify. Your vendors don’t need an Expensify account to manage everything in one place!
Receiving Bills
Expensify makes it easy to receive bills in three simple ways:
1. Directly from Vendors
Share your Expensify billing email with vendors to receive bills automatically.
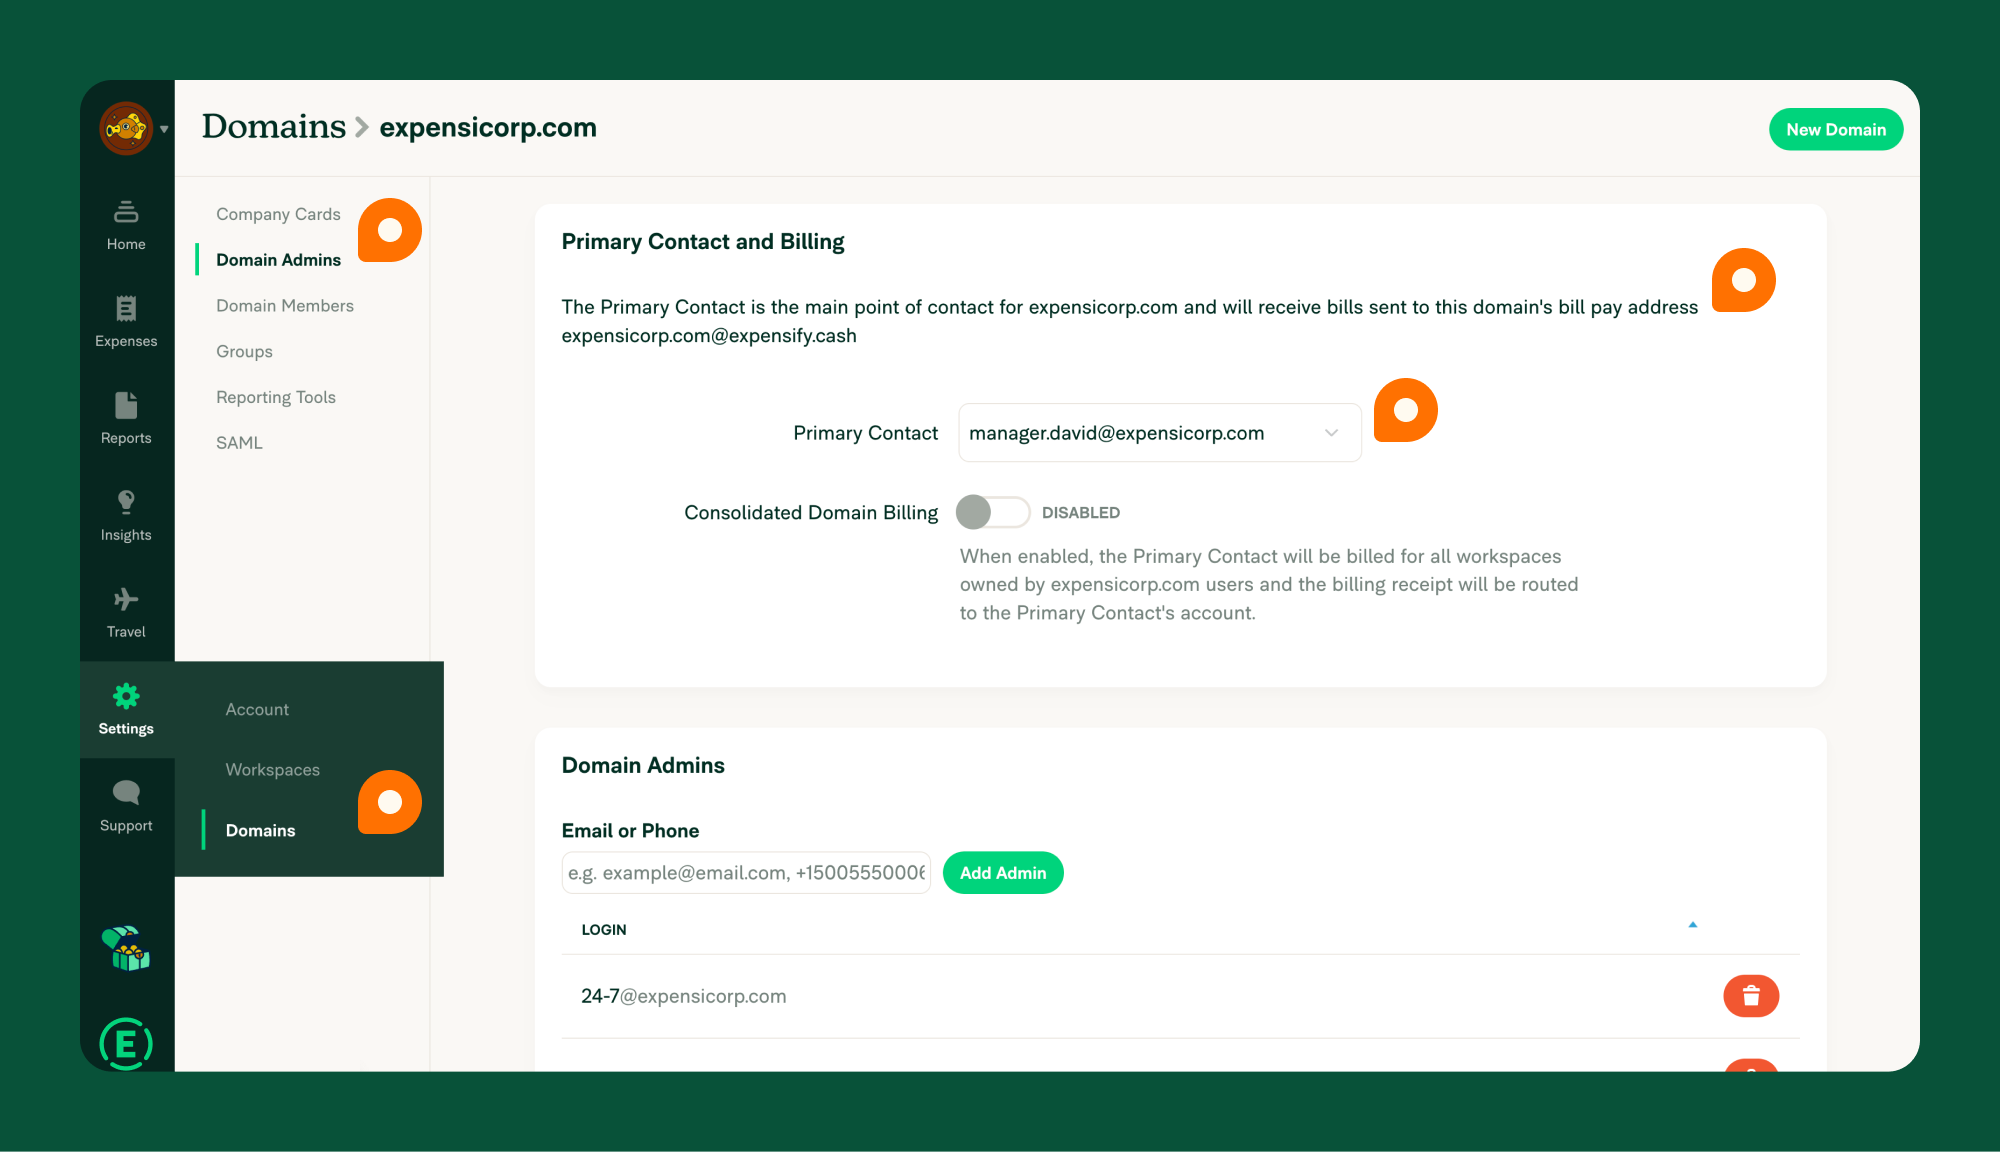
- Set a Primary Contact under Settings > Domains > Domain Admins.
- Ask vendors to email bills to your billing address:
domain.com@expensify.cash(e.g., for expensicorp.com, useexpensicorp.com@expensify.cash). - Once emailed, the bill is automatically created in Expensify, ready for payment.
2. Forwarding Emails
If you received a bill in via email, you can forward it directly to Expensify.
- Ensure your Primary Contact is set under Settings > Domains > Domain Admins.
- Forward bills to
domain.com@expensify.cash. Example:domain.com@expensify.cash(e.g., for expensicorp.com, useexpensicorp.com@expensify.cash). - Expensify will create a bill automatically, ready for payment.
3. Manual Upload
Got a paper bill? Create a bill manually in Expensify:
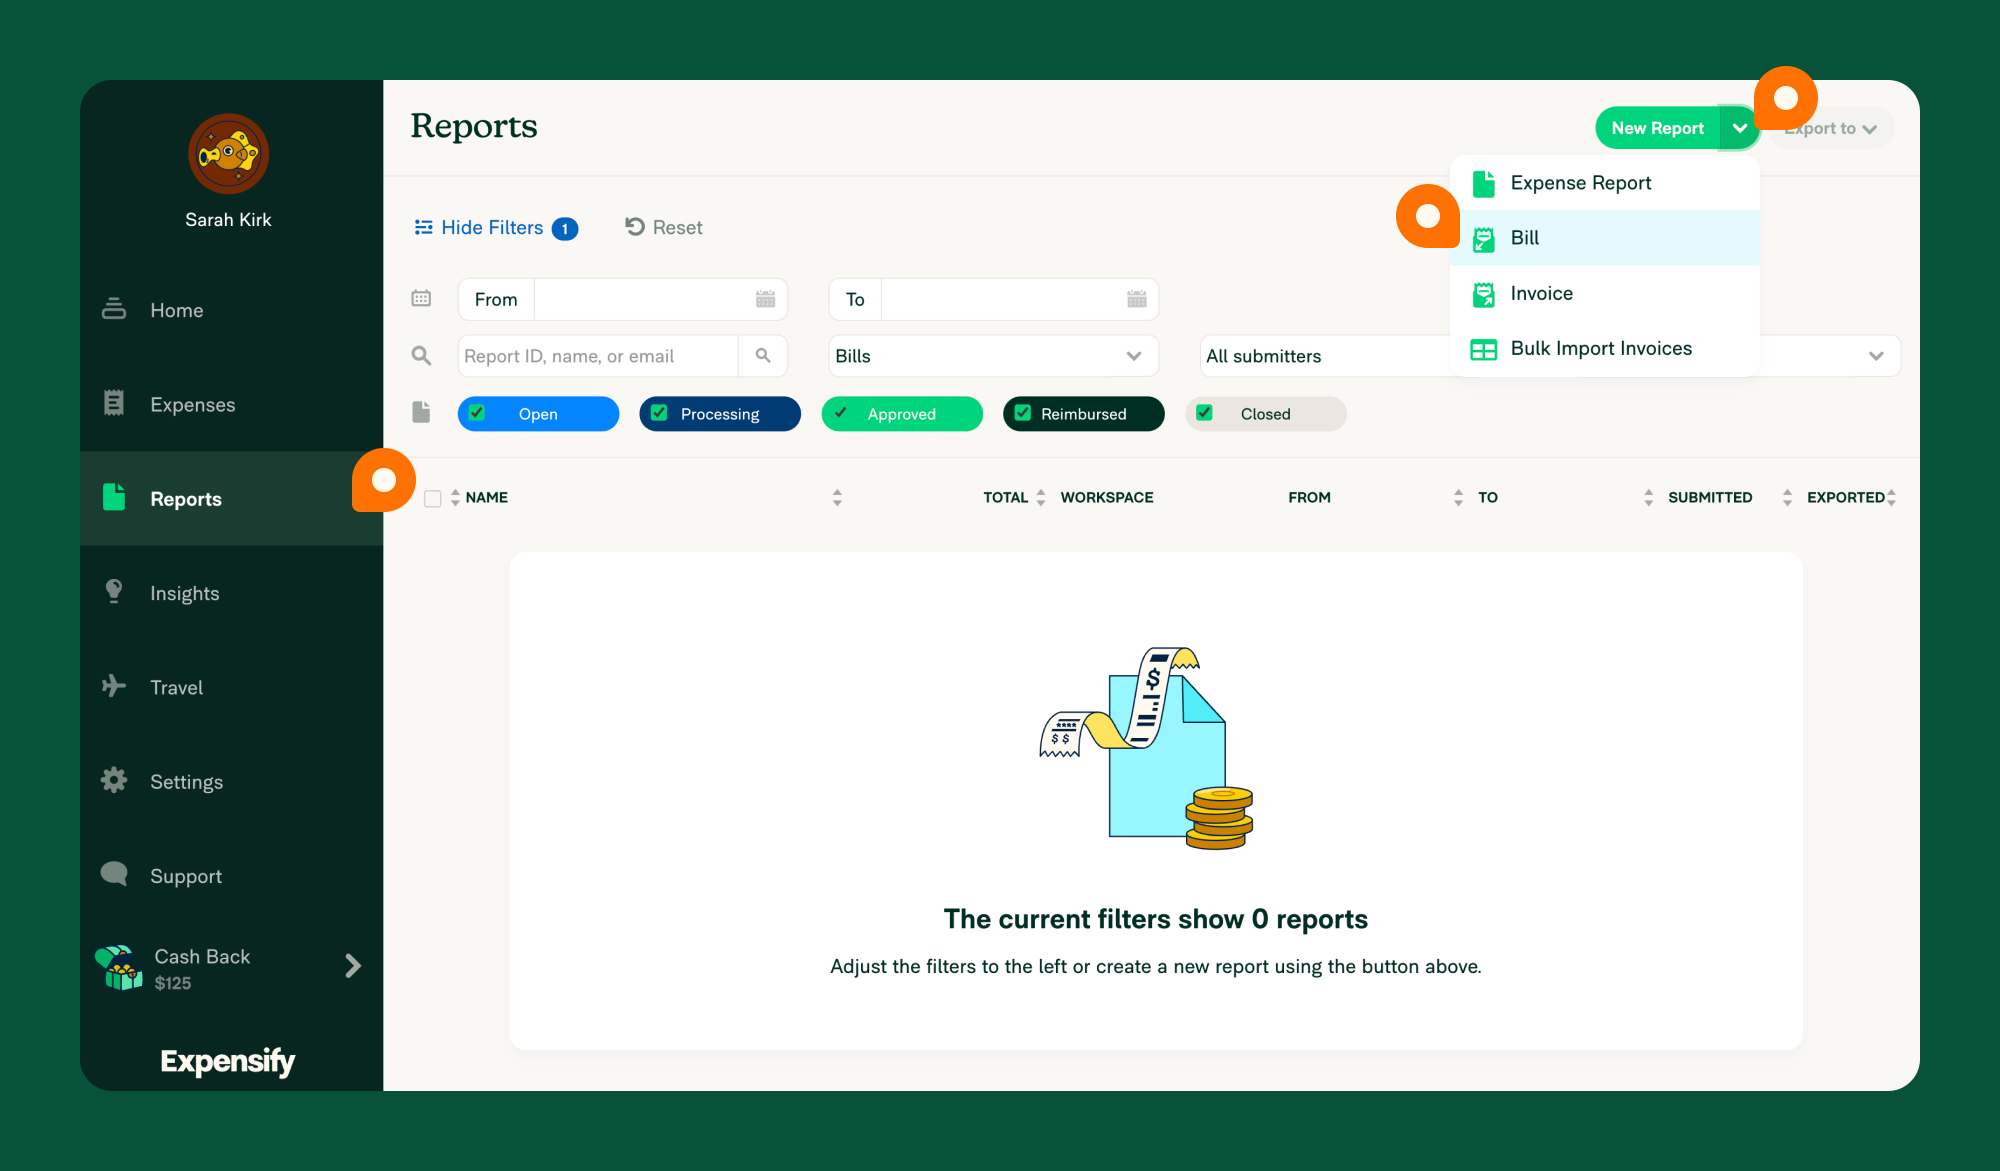
- Log in to Expensify.
- Go to Reports > New Report > Bill.
- Enter the invoice details: sender’s email, merchant name, amount, and date.
- Upload the invoice as a receipt.
Paying Bills in Expensify
Expensify makes it easy to manage and pay vendor bills with a straightforward workflow and flexible payment options. Here’s how it works:
Bill Pay Workflow
- SmartScan & Create: When a vendor sends a bill, Expensify automatically SmartScans the document and creates a bill.
- Submission to Primary Contact: The bill is submitted to the primary contact, who can review it on the Reports page under their default group workspace.
- Communication: If the approver needs clarification, they can communicate directly with the sender via the invoice linked to the bill.
- Approval Workflow: Once reviewed, the bill follows your workspace’s approval process. The final approver handles the payment.
- Accounting Integration: During approval, the bill is coded with the correct GL codes from your connected accounting software. Once approved, it can be exported back to your accounting system.
Payment Methods
Expensify offers several ways to pay bills. Choose the method that works best for you:
1. ACH Bank-to-Bank Transfer
Fast and fee-free, this method requires a connected business bank account.
How to Pay via ACH:
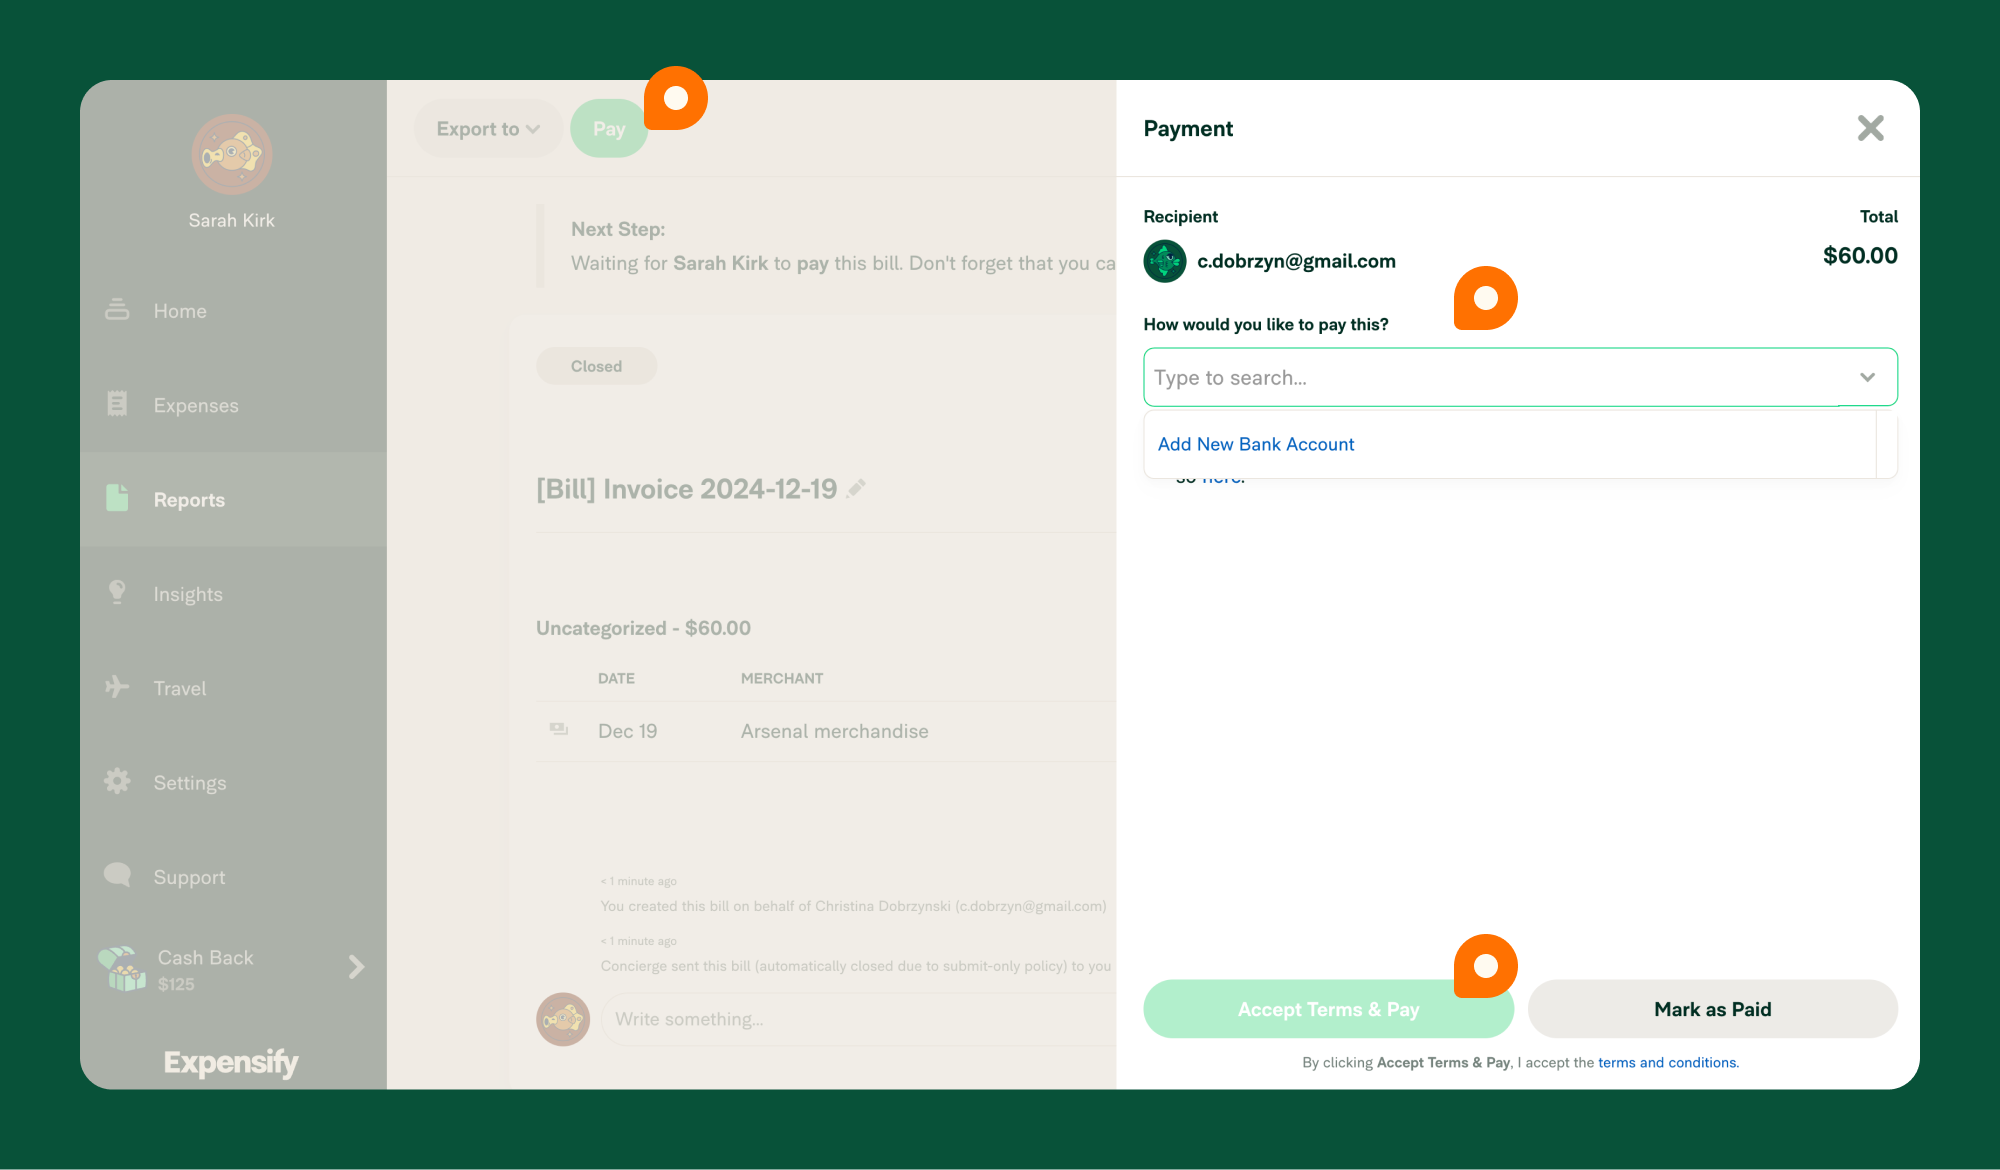
- Log in to your Expensify web account.
- Find the bill on the Home or Reports page.
- Click Pay and select the ACH option.
Fees: None.
2. Credit or Debit Card
Pay vendors using a credit or debit card. This option is available for US and international customers paying US vendors with a US business bank account.
How to Pay with a Card:
- Log in to your Expensify web account.
- Open the bill details and click Pay.
- Enter your card information to complete the payment.
Fees: 2.9% of the total amount paid.
3. Venmo
If both you and the vendor have Venmo accounts connected to Expensify, you can pay through Venmo. Learn how to set up Venmo here.
Fees: Venmo charges a 3% sender’s fee.
4. Pay Outside Expensify
If you prefer to pay outside Expensify, you can still track the payment within the platform.
How to Mark as Paid Outside Expensify:
- Log in to your Expensify web account.
- Open the bill details and click Pay.
- Select Mark as Paid to update its status.
Fees: None.
FAQ
Who receives vendor bills in Expensify?
Bills are sent to the Primary Contact listed under Settings > Domains > [Domain Name] > Domain Admins.
Who can view and pay a bill?
Only the primary domain contact can view and pay a bill.
How can others access bills?
The primary contact can share bills or grant Copilot access for others to manage payments.
Is Bill Pay supported internationally?
Currently, payments are only supported in USD.
What’s the difference between a bill and an Invoice in Expensify?
A bill represents a payable amount owed to a vendor, while an Invoice is a receivable amount owed to you.