


Require tags and categories for expenses
To improve expense accuracy and compliance, Workspace Admins can require all expenses to be tagged and categorized before submission. This guide walks through how to enable this setting and manage default categories that auto-apply based on merchant history.
Require Tags or Categories for Expenses
When this setting is turned on, expenses must include a tag or category before submission. The relevant field will display as required during entry.
Note: If tags or categories are required but not applied, the expense can still be submitted. However, the submitter and approver will see an orange dot indicating the field needs attention.
On Web
- In the navigation tabs (on the left on web, and at the bottom on mobile), click Workspaces.
- Click your workspace name.
- Click Tags or Categories.
- In the top-right corner, click Settings.
- Toggle on Members must tag or categorize all expenses.
- Repeat the steps for the other option (Tags or Categories) if needed.
On Mobile
- Tap your profile icon, then tap Workspaces.
- Select your workspace.
- Tap Tags or Categories.
- Tap Settings in the top-right.
- Toggle on Members must tag or categorize all expenses.
- Repeat for the other field type if needed.
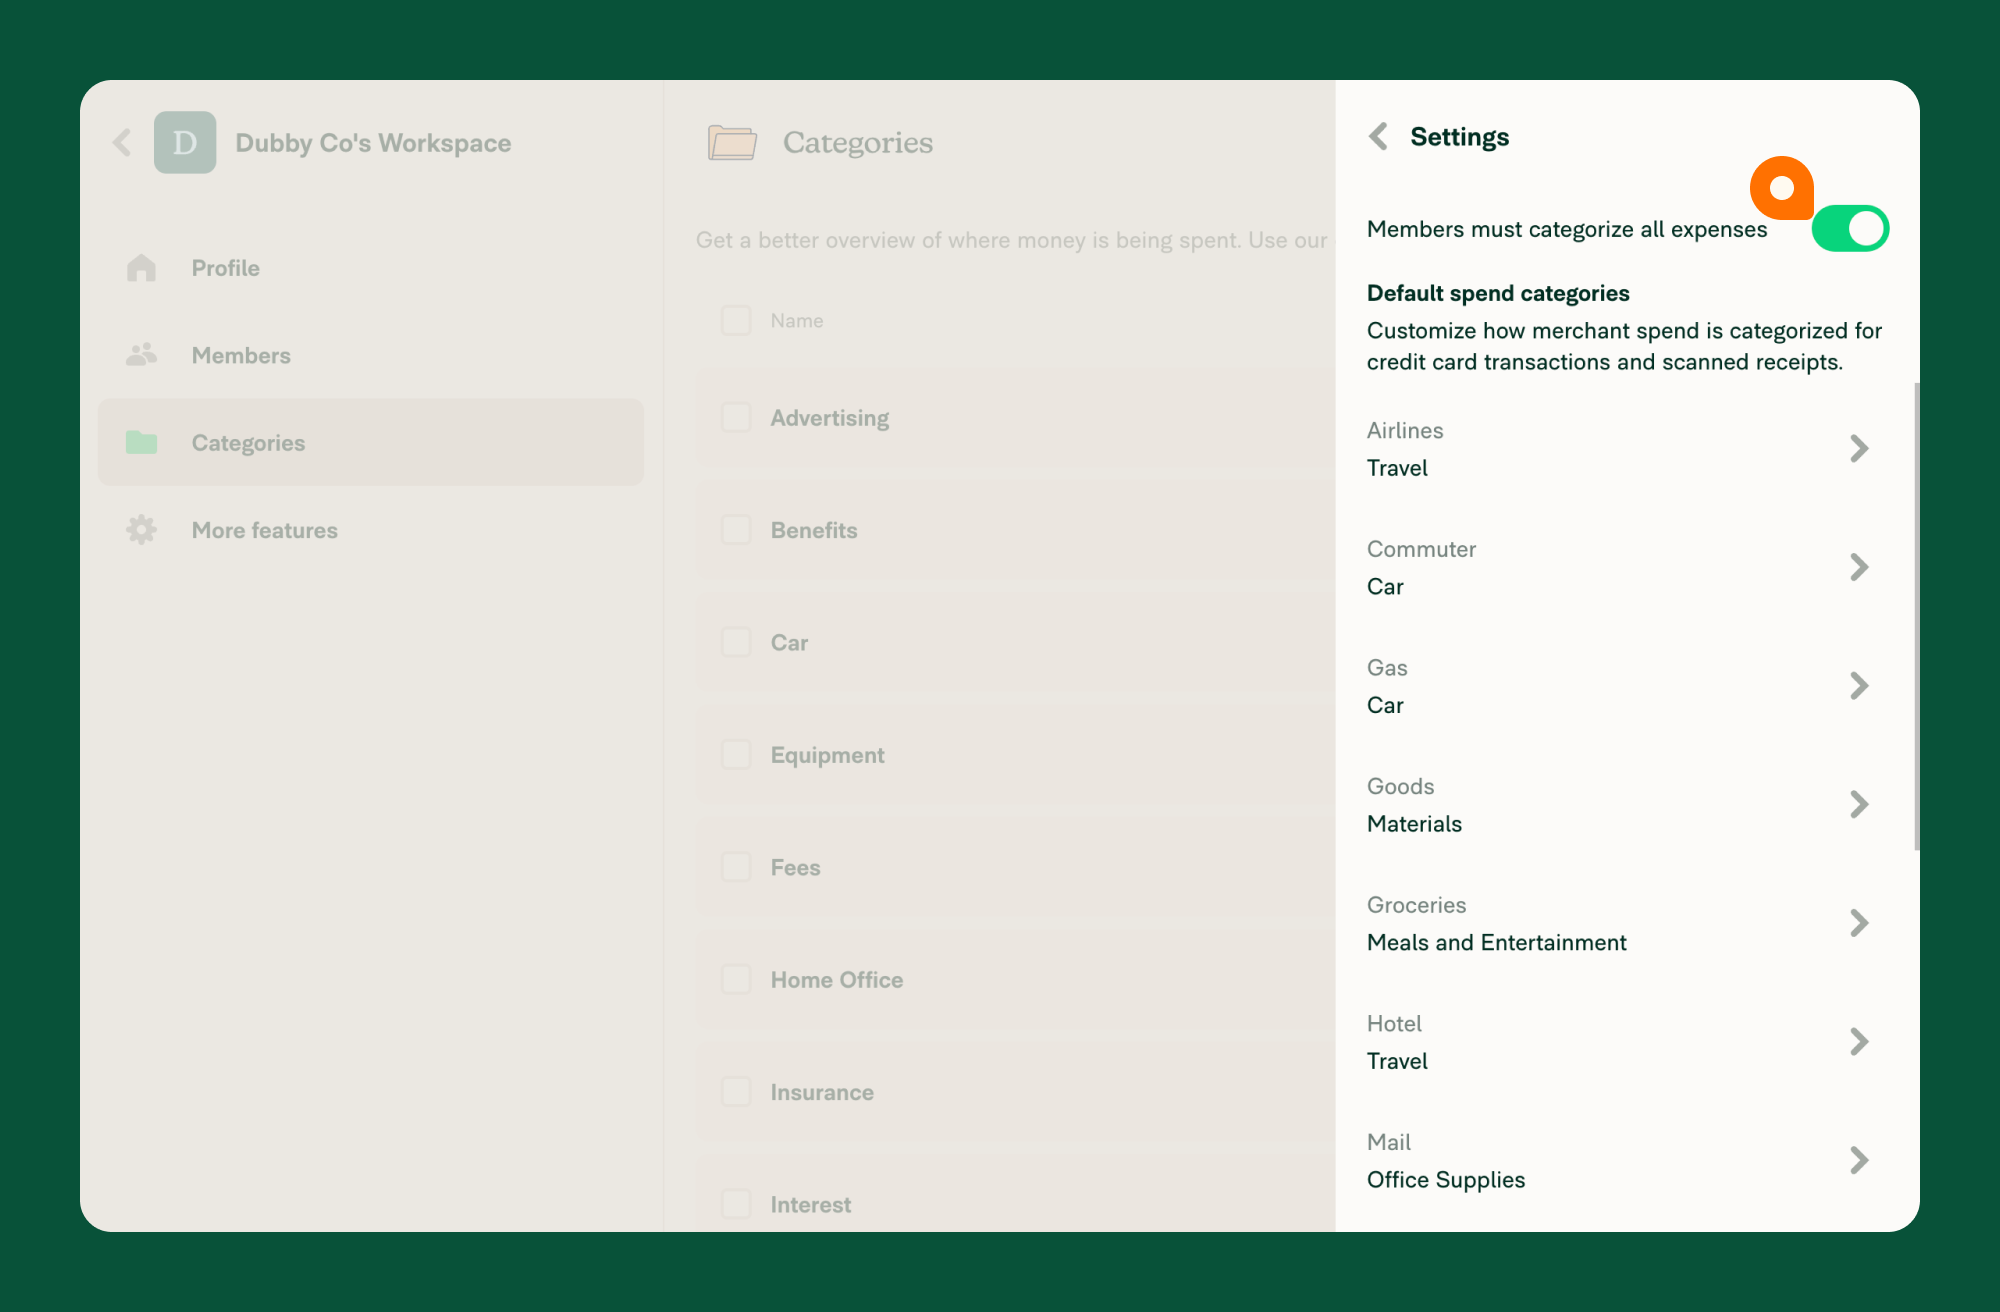
Default Spend Categories
Expensify learns how you categorize expenses by merchant and automatically applies those preferences going forward. You can always update or override a category, and Expensify will learn your changes over time.
Manage Default Spend Categories
- In the navigation tabs (on the left on web, and at the bottom on mobile), click Workspaces.
- Click your workspace name.
- Click Categories.
- Click Settings in the top-right.
- Click any default category to update its assigned value.