


Create and manage expense tags
Create and Manage Expense Tags
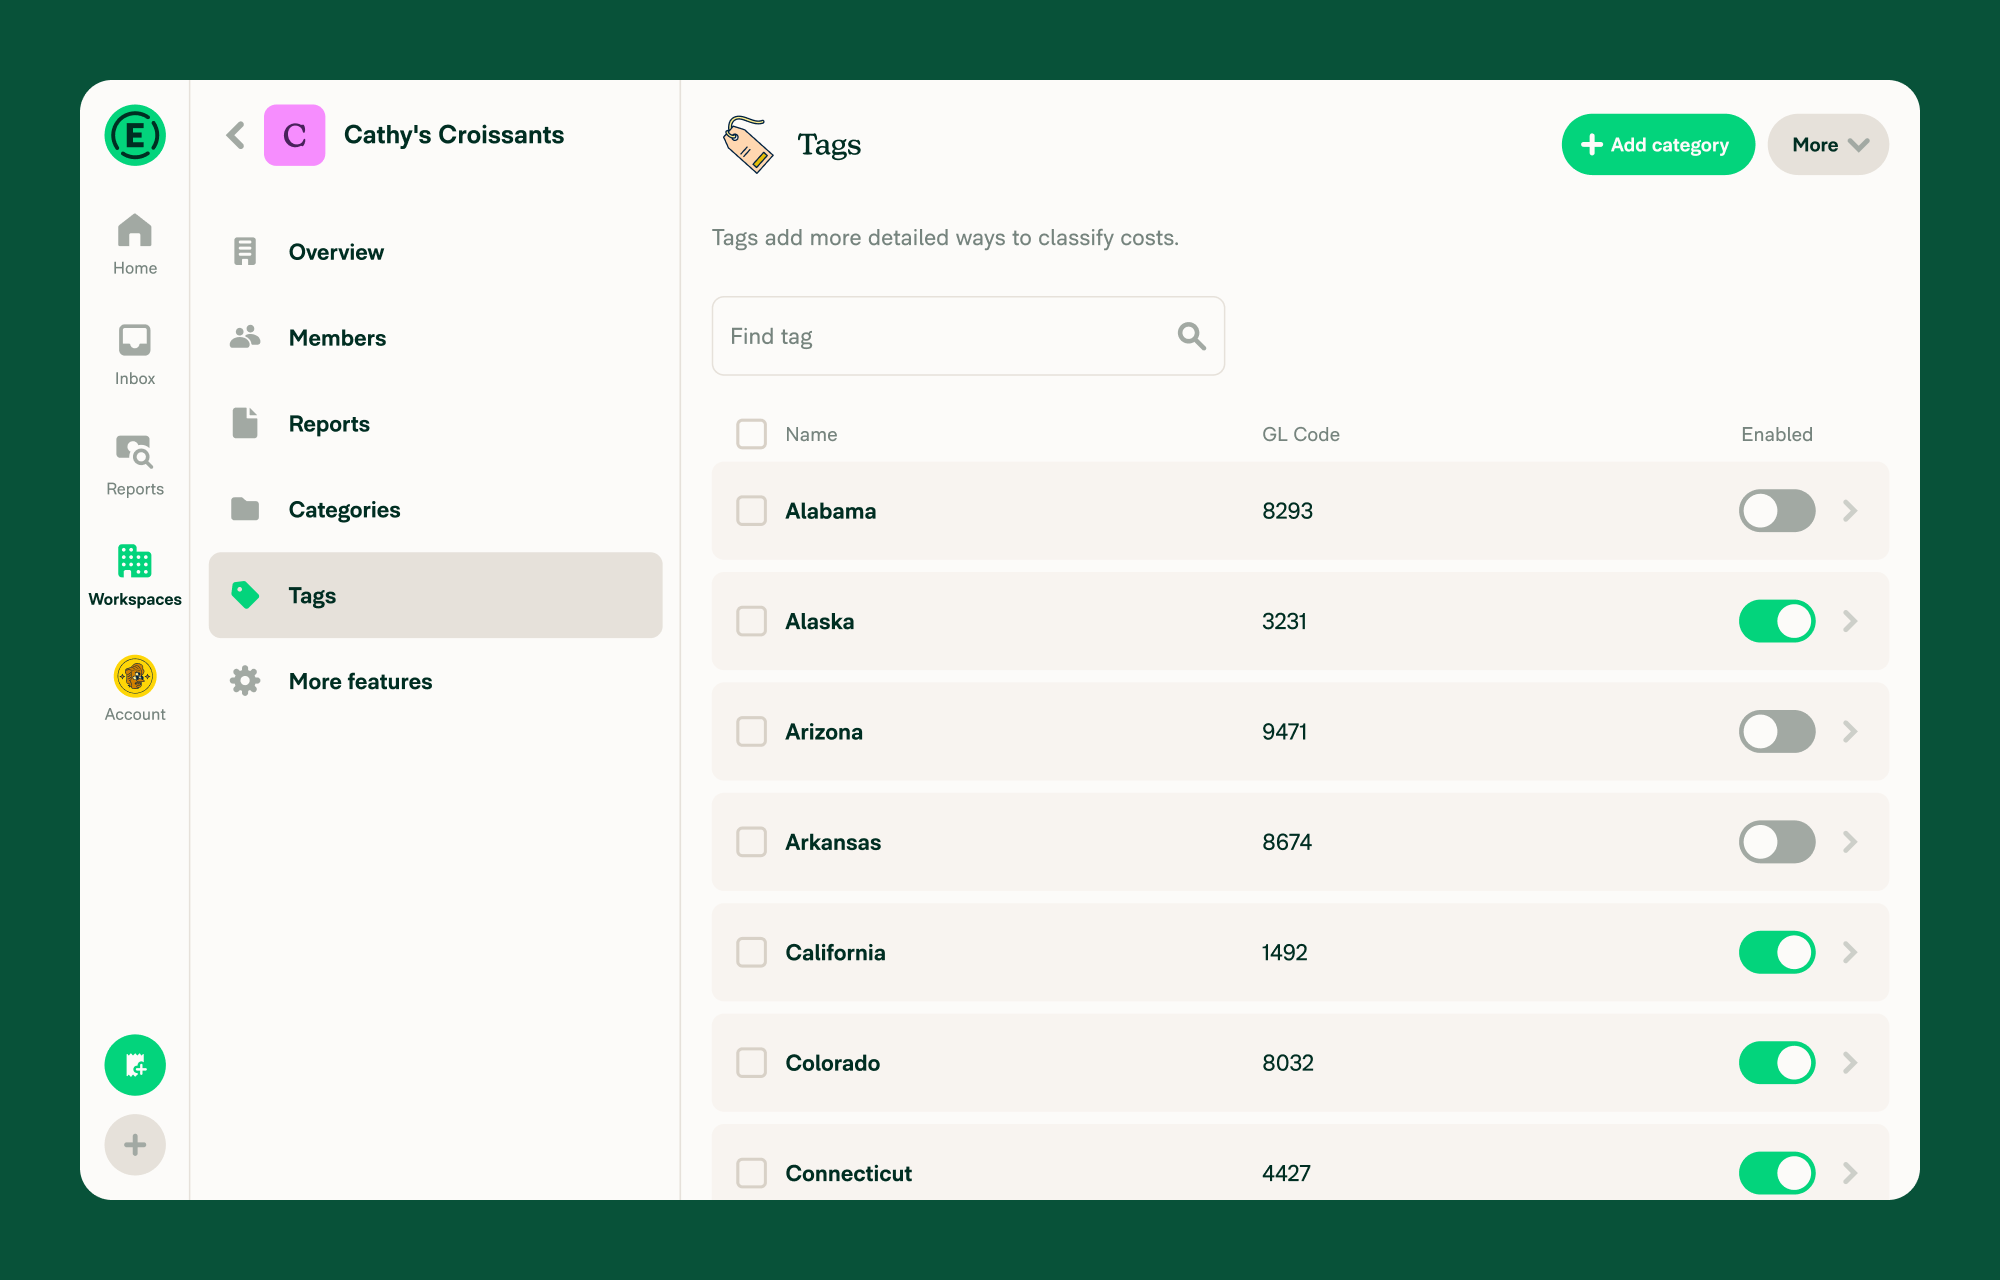
Tags help you code expenses for accounting and reporting (for example: cost centers, classes, projects, locations, customers, or jobs).
Workspace Admins can:
- Create tags manually.
- Import tags using a spreadsheet.
- Sync tags from an accounting integration (for example: QuickBooks Online, Xero, NetSuite, Sage Intacct).
Over time, Expensify also learns your tag preferences and applies them automatically.
How to enable Tags on a workspace
Before you can manage tags, you need to enable the Tags feature for your workspace.
- In the navigation tabs (on the left on web, and at the bottom on mobile), select Workspaces > [workspace name].
- Select More Features.
- In the Organize section, enable Tags.
How to create a tag manually
- In the navigation tabs (on the left on web, and at the bottom on mobile), select Workspaces > [workspace name]
- Select Tags.
- Choose Add tag
- Enter a tag name and select Save.
How to import single-level Tags using a spreadsheet
Use this option when you want one flat list of tags (for example: Marketing, Sales, IT).
- In the navigation tabs (on the left on web, and at the bottom on mobile), select Workspaces > [workspace name]
- Select Tags.
- Select More > Import spreadsheet
- If no tags exist yet, select Import from the Tags page.
- Choose Single level of tags.
- Select Choose file then upload your spreadsheet.
- Map the required columns:
- Name
- Enabled
- Tag GL Code (Optional)
- Select Import.
Note: Importing a new file will replace your existing tag list.
How to import multi-level Tags using a spreadsheet
Use this option when you want multiple tag levels (for example: Department and Location). Multi-level tags are available on Control workspaces only.
- In the navigation tabs (on the left on web, and at the bottom on mobile), select Workspaces > [workspace name].
- Select Tags.
- Select More > Import spreadsheet.
- If no tags exist yet, select Import from the Tags page.
- Choose Multi-level tags.
- Select Choose file then upload your file.
- Confirm the import settings:
- The first row is the title for each tag list
- These are independent tags
- There is a GL code in the adjacent column (if applicable)
- Select Import.
The linked templates can be used to import multi-level tags:
- Dependent tags with GL codes
- Dependent tags without GL codes
- Independent tags with GL codes
- Independent tags without GL codes
Notes:
- Only CSV and TSV files are supported for multi-level tag imports. A single file can include up to 50,000 tags.
How single-level Tags and multi-level Tags affect tag fields on expenses
Single-level Tags and multi-level Tags determine how many tag fields appear on each expense. This directly controls how many “layers” of coding members must complete when submitting expenses.
Single-level tags:
- Members see one Tag field on expenses.
- They select one value from a single list (for example: Marketing, Sales, IT).
- Best when you only need one layer of coding.
Example: If you use single-level Tags for Department, members will see one field labeled Tag and choose one department.
Multi-level tags
- Members see multiple Tag fields (one for each level you configure).
- Each level appears as its own field on the expense.
- Best when you need multiple layers of coding (for example: Department and Location).
Note:
- With single-level Tags, you can edit or delete individual tags directly in the workspace.
- With multi-level Tags, you must update and re-import your spreadsheet to make changes.
How dependent and independent multi-level Tags work
When using multi-level Tags, you must choose whether the tag levels are dependent or independent. This determines whether selecting one tag filters the available options in the next level.
Dependent Tags
- Lower-level tag options depend on the selection made in the level above.
- When a member selects a value in Level 1, the options in Level 2 (and Level 3, etc.) are filtered to only the valid combinations from your spreadsheet.
- Best when only specific tag combinations are allowed.
Example:
If Level 1 is State and Level 2 is City, selecting California in Level 1 would limit Level 2 options to:
- San Francisco
- San Diego
- Los Angeles
Members would not see cities that don’t belong to California.
Independent Tags
- Each tag level is its own separate list.
- Selecting a tag in one level does not filter the available options in other levels.
- Best when all combinations across levels are allowed.
Example:
If Level 1 is Department and Level 2 is Location, members can choose any department with any location.
When importing multi-level Tags, enable These are independent tags to import the levels as independent. If this option is disabled, the Tags will be imported as dependent.
How to delete expense tags
- In the navigation tabs (on the left on web, and at the bottom on mobile), select Workspaces > [workspace name].
- Select Tags.
- Select one or more tags.
- Choose Selected in the top right.
- Select Delete tag.
Note: For multi-level tags, individual tags can’t be deleted manually. Upload a new spreadsheet without the tags you want removed.
How to add or edit a tag GL code
Workspaces on the Control plan can assign a GL code to each tag for exporting purposes. Tag GL codes are not visible to members.
- In the navigation tabs (on the left on web, and at the bottom on mobile), select Workspaces > [workspace name].
- Select Tags.
- Select a tag to open its detail panel.
- Select the GL Code field, enter or update the code, then select Save.
How Expensify suggests Tags automatically
Expensify may suggest Tags based on how similar expenses were coded previously.
Note: Manually applied tags are not overwritten automatically. Suggestions may vary by member and by merchant.
How to assign an approver to a tag
You can require a specific person to approve any expense that uses a particular tag. This is useful when certain projects, departments, or cost centers need sign-off from a designated owner.
- In the navigation tabs (on the left on web, and at the bottom on mobile), select Workspaces > [Workspace name].
- Select Tags.
- Select a tag to open its detail panel.
- Under Tag Rules, select Approver.
- Choose the member who should approve expenses with this tag, then select Save.
Once set, any report that contains an expense with this tag is automatically routed to the Tag approver as part of the report’s approval chain.
Note: Tag approvers are available on the Control plan only.
FAQ
Can I edit expense tags on a submitted expense report?
Yes. You can edit tags until the expense is approved or reimbursed.
Approvers can also edit tags after approval by taking control of the report.
How does a Tag approver fit into the Workspace approval workflow?
Tag approvers are added to the beginning of a Workspace’s approval workflow. When a report contains expenses assigned to a Tag with an approver, that approver must approve the report before it moves through the Workspace’s standard approval workflow.
If a Category approver is also assigned, the Category approver approves before the Tag approver.
To learn how Category approvers, Tag approvers, and Workspace approvers work together, see Set Category and Tag approvers.
Can I see an audit trail of tag changes?
Yes. When a tag is changed manually, the update appears in the expense chat.
What happens if a tag is disabled in my accounting system?
It will be removed from the workspace’s tag list. However, it will still appear on expenses or reports where it was previously applied.
What happens to an expense if its tag is disabled on the workspace?
If tags are disabled on the workspace while an expense still has a tag applied, the Tag field stays on the expense with a Tag no longer valid violation.
To resolve the violation, select the Tag field on the expense. A Tag disabled alert appears with options for managing the disabled tag.
Alternatively, you can enable tags on the workspace to edit the tag directly.
Why can’t I enable multi-level tags?
Multi-level tags are available on Control workspaces only. If your Control workspace is connected to an accounting integration, you will need to manage tags in your accounting system and sync them into Expensify.
Can members see Tag GL codes?
No. Tag GL codes are visible only to Workspace Admins. If members need that information, include the GL code in the tag name (for example: 1001 - Marketing).