


Connect to Xero
Connect your Workspace to Xero to sync expense data directly into your accounting system. This article walks you through setup and disconnection steps.
Requirements to connect to Xero
Make sure the following requirements are met before you start:
- You’re logged into Xero as an administrator
- Your Workspace is on the Collect or Control plan
- Two-factor authentication is enabled in Expensify — learn how to enable it
How to connect Expensify to Xero
To connect your Workspace:
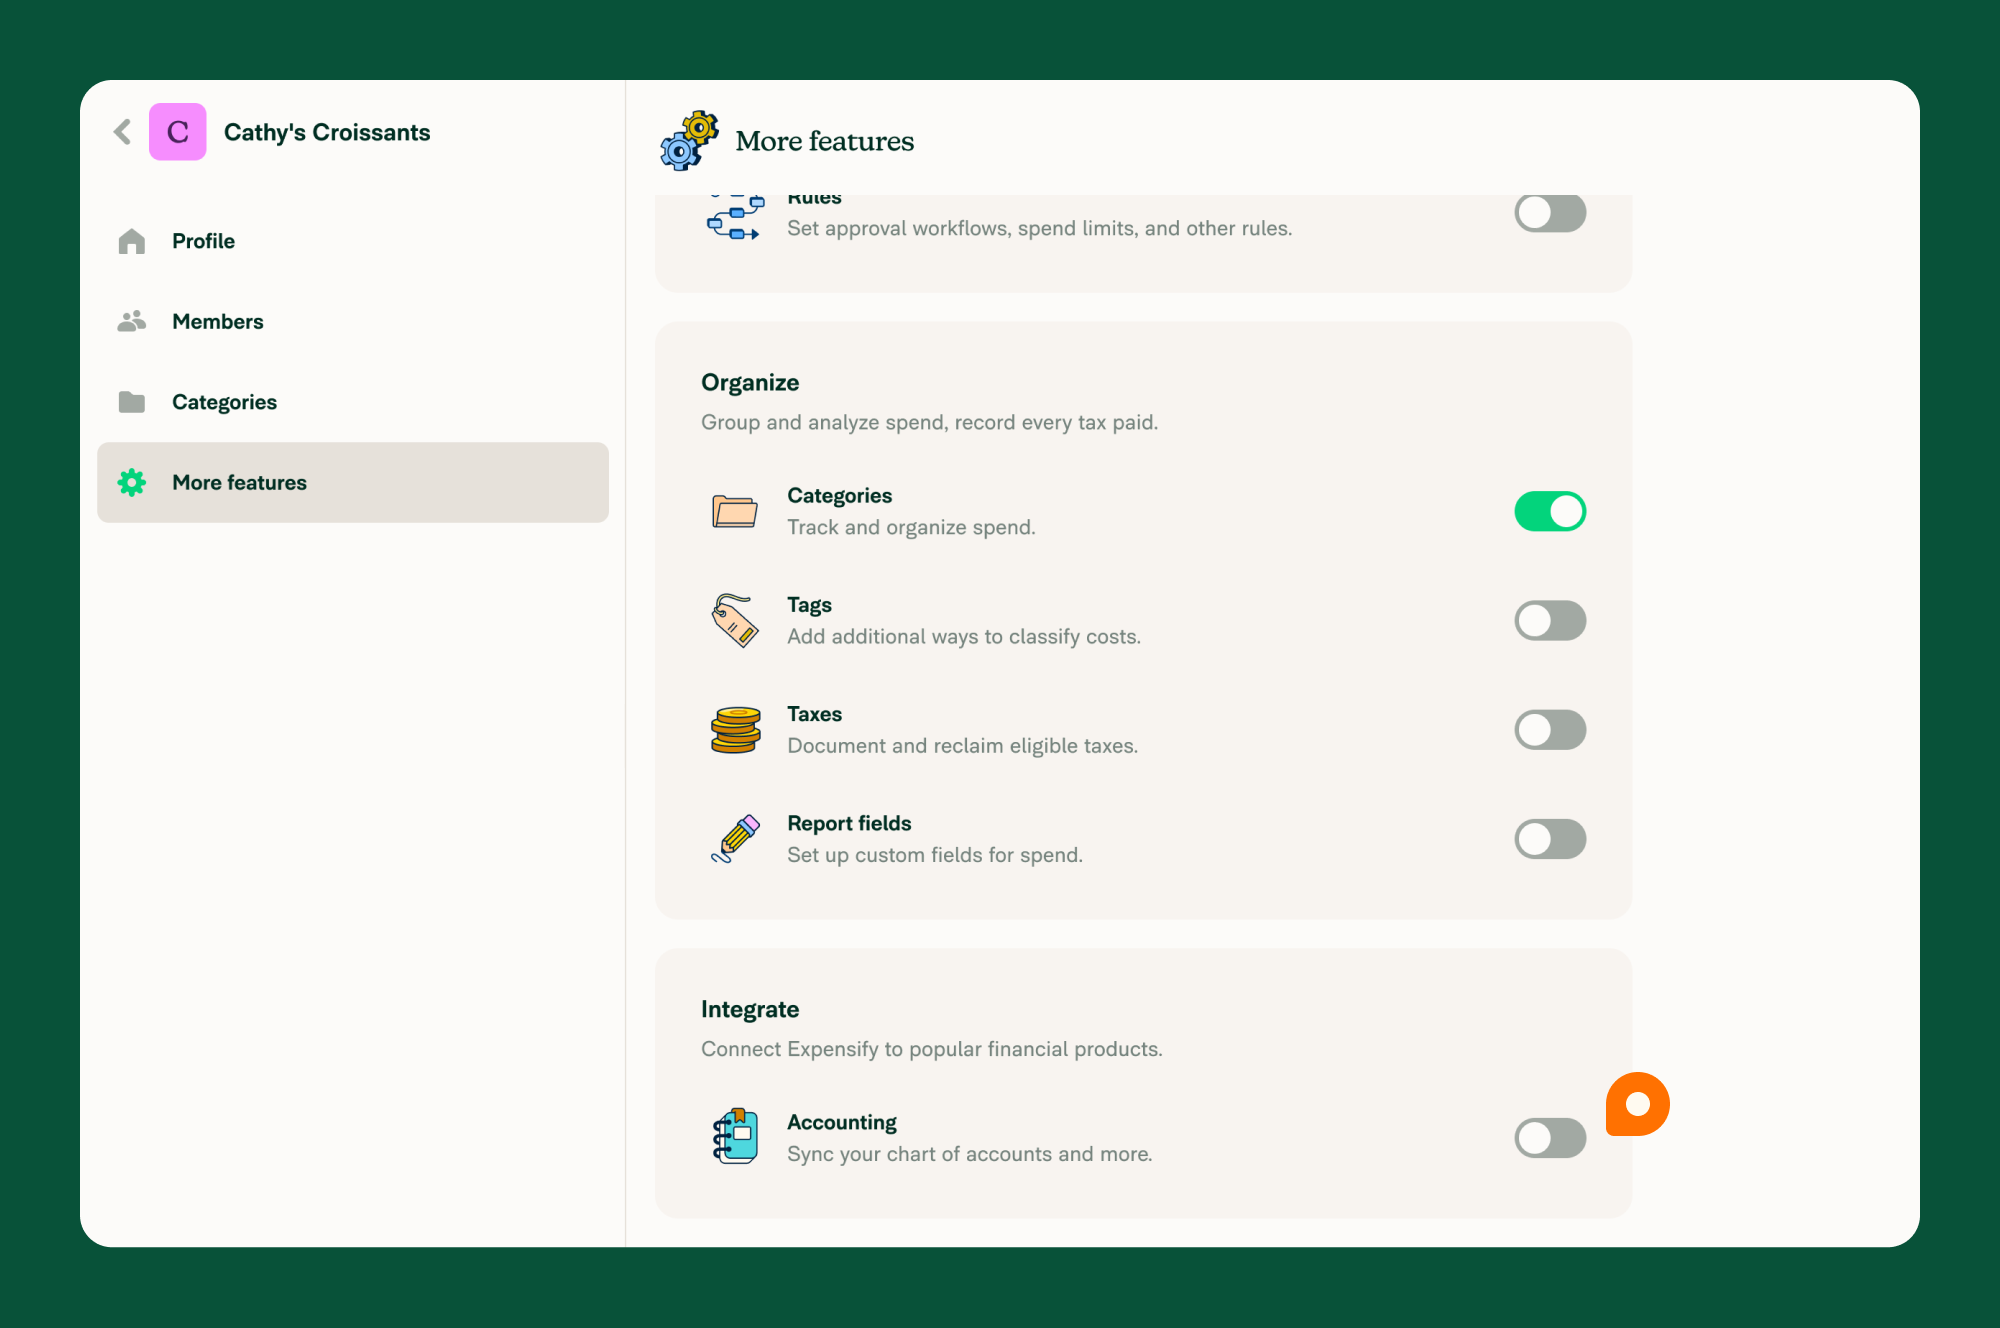
- From the left-hand menu, select Settings.
- Choose Workspaces, then select your Workspace.
- Select More features from the Workspace menu.
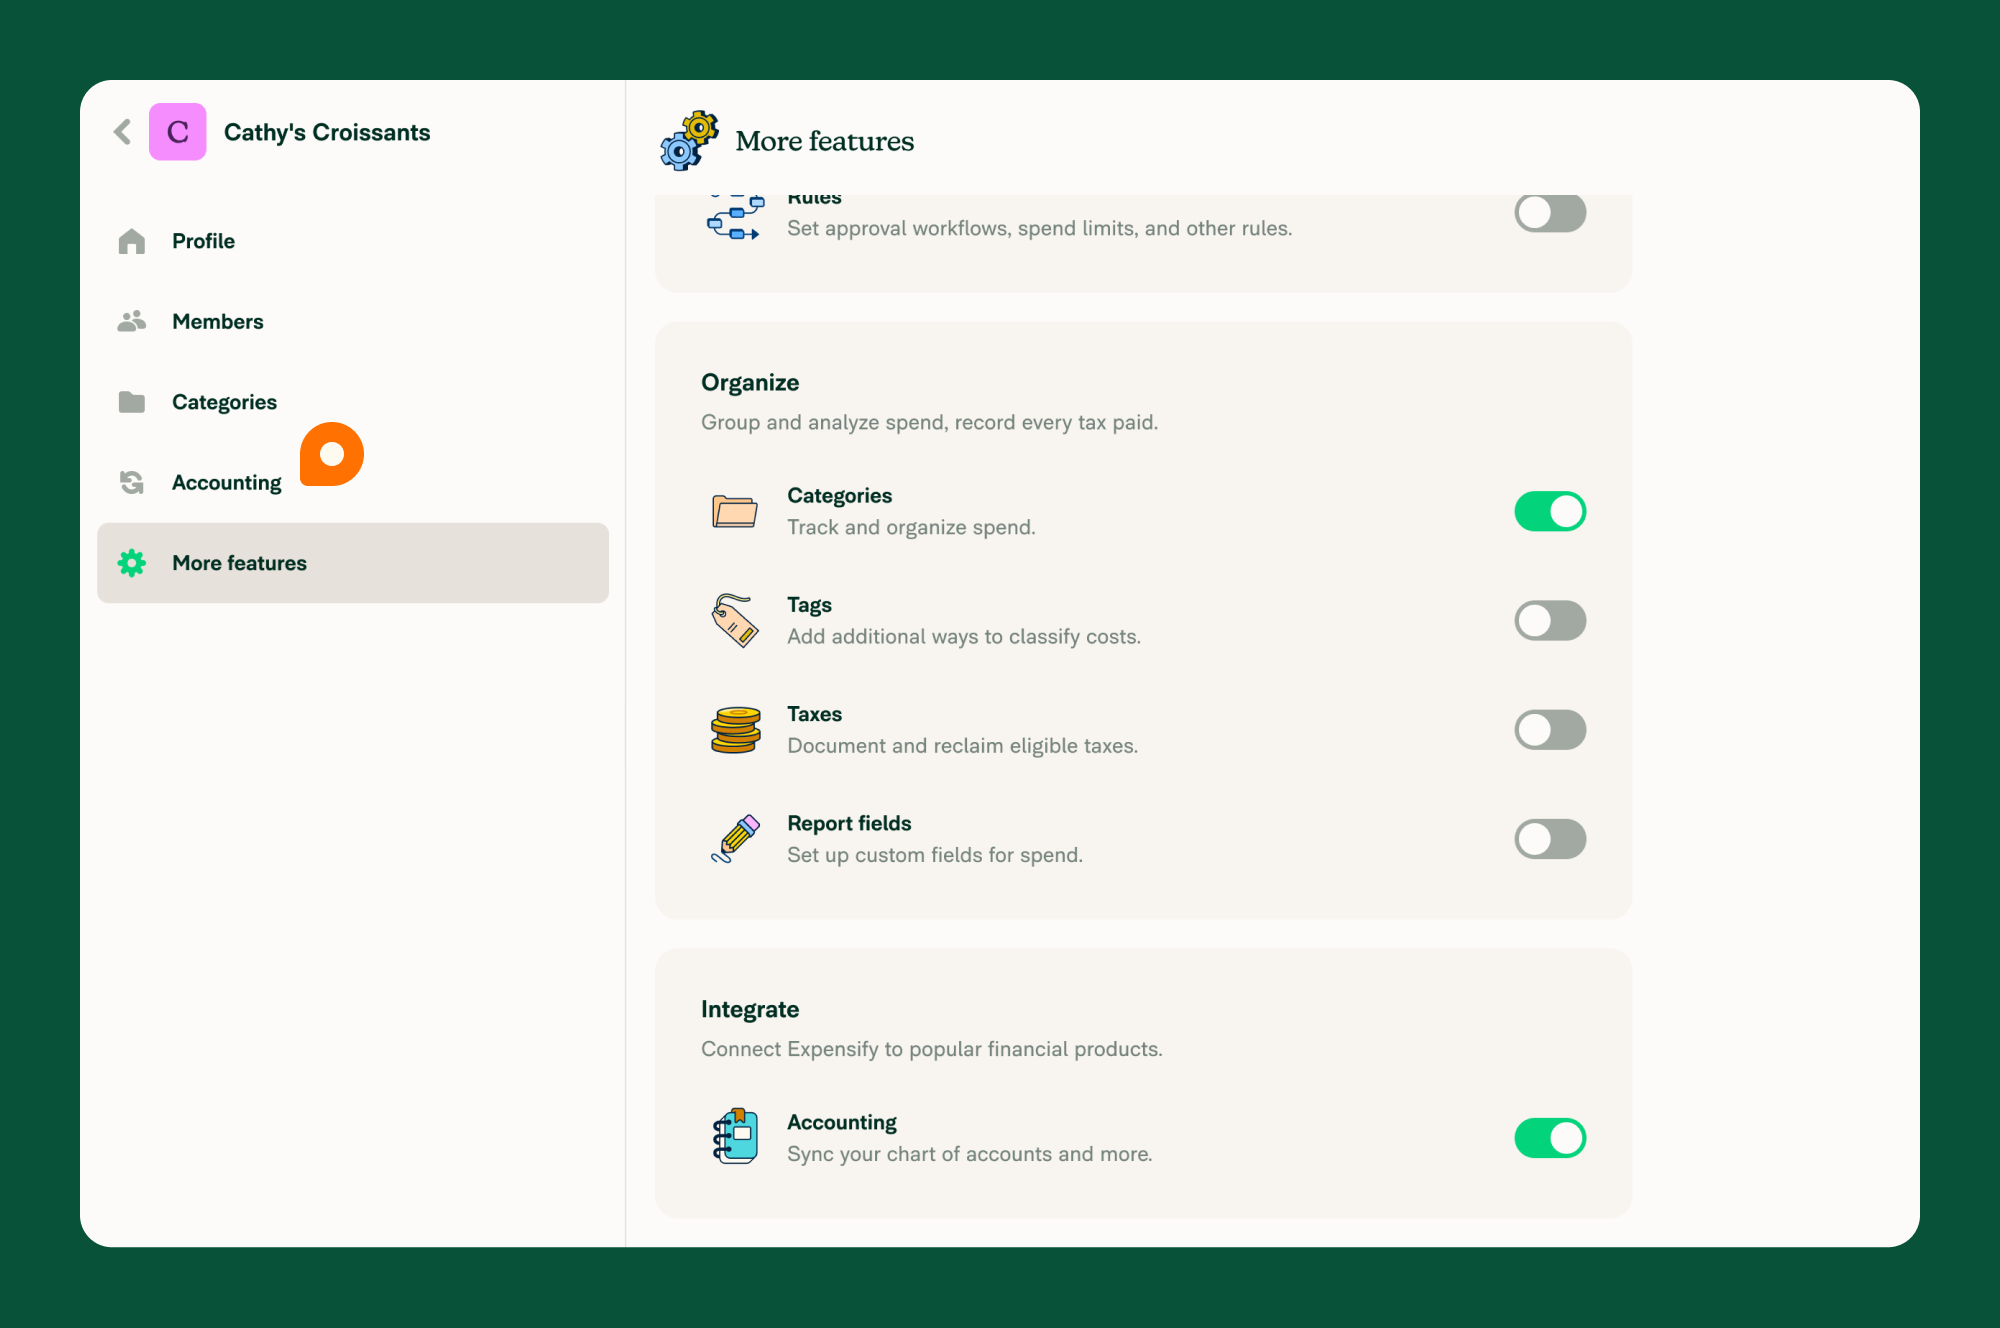
- In the Integrate section, toggle on Accounting.
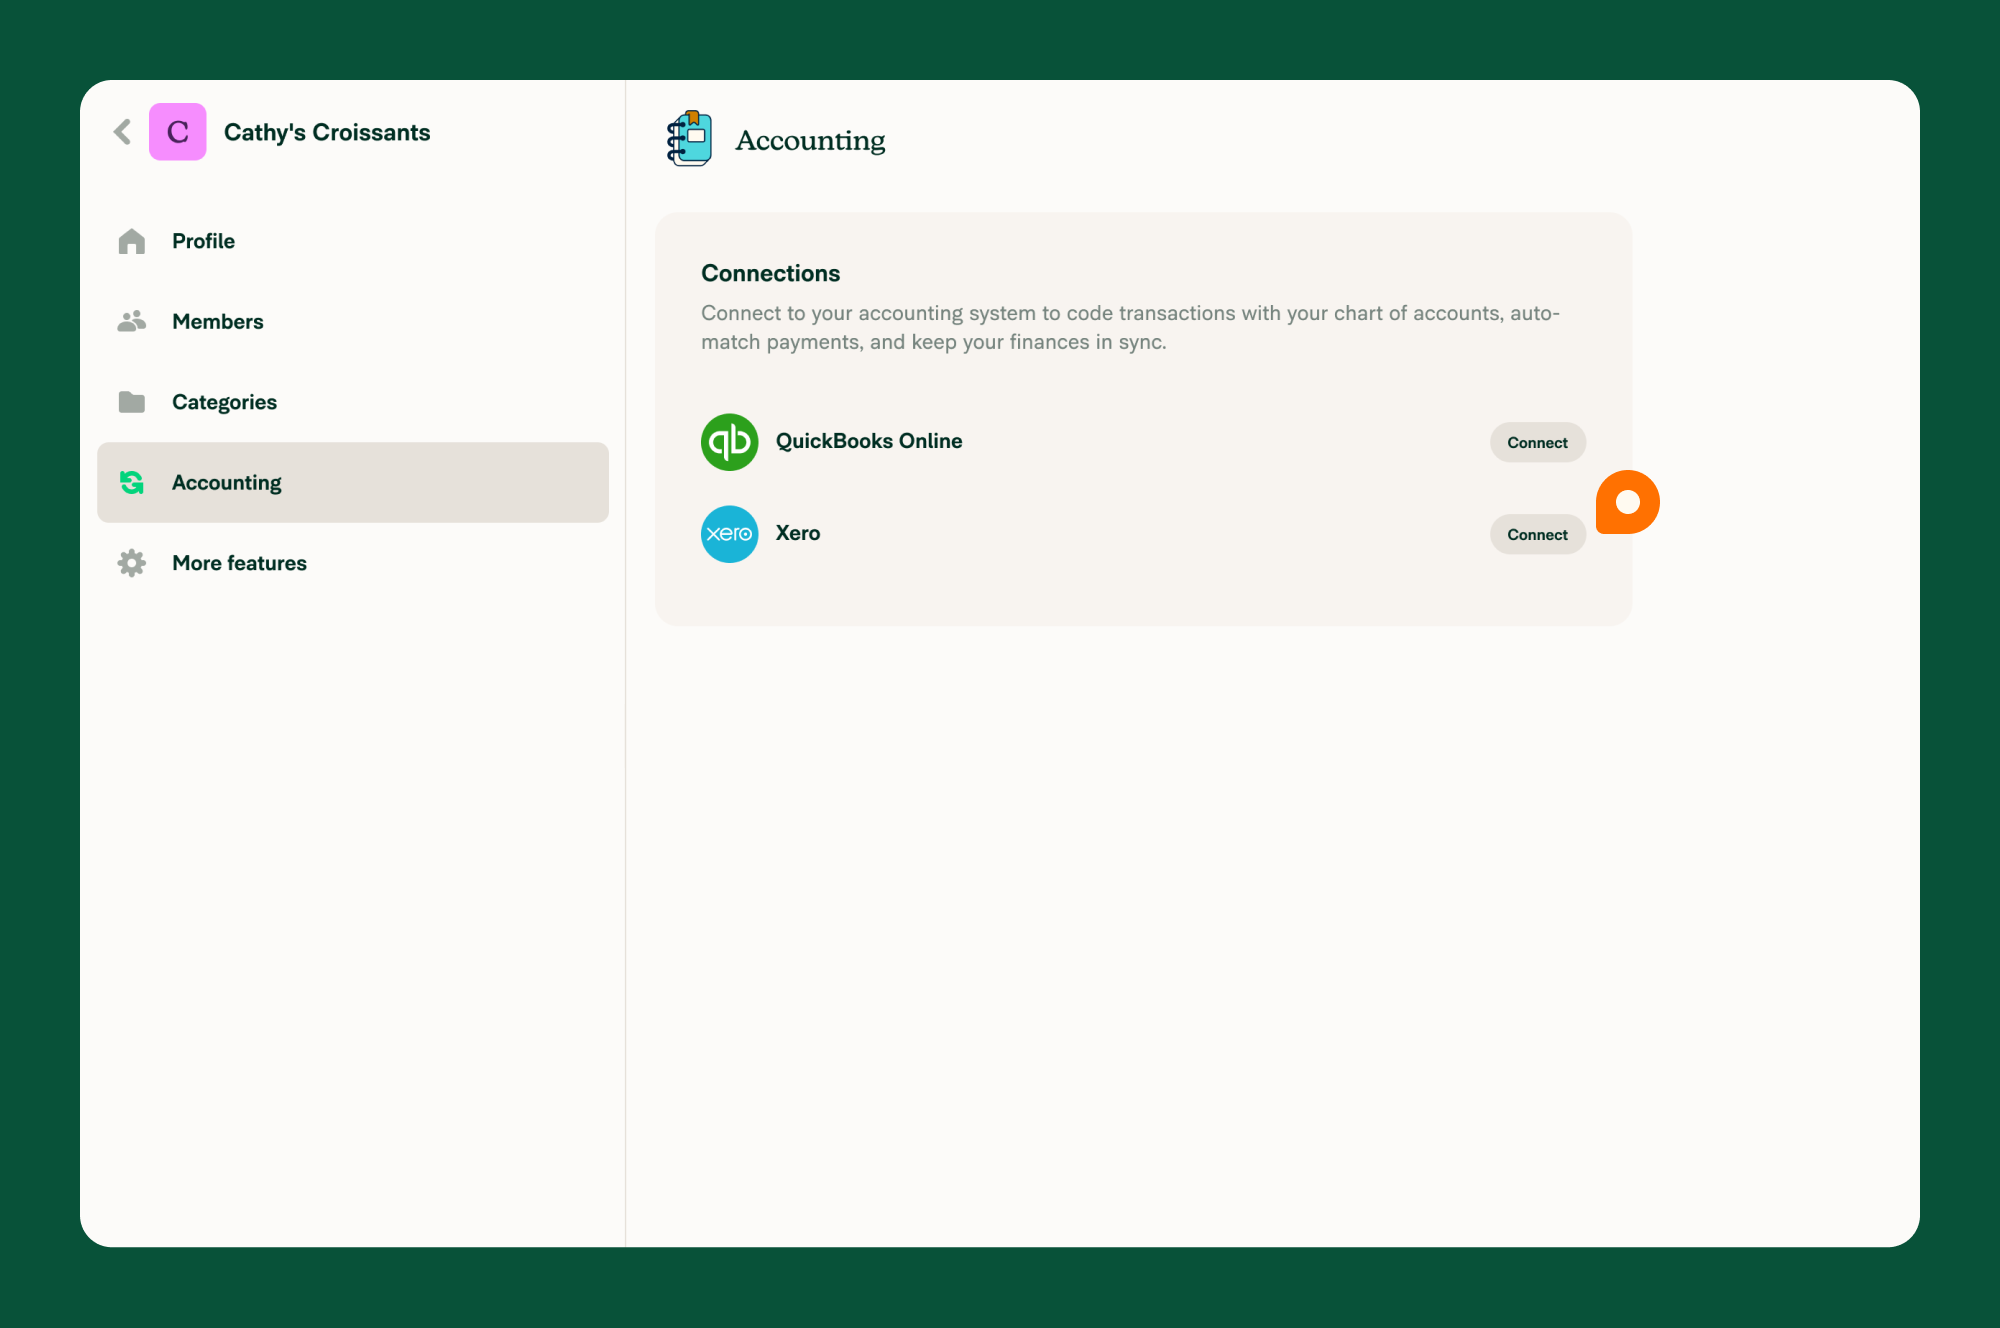
- Click Accounting in the menu.
- Click Set up next to Xero.
- Log in to your Xero account to complete the connection.
This will import your Xero settings into Expensify.
FAQ
How do I disconnect Xero from Expensify?
- From the left-hand menu, select Settings > Workspaces, then choose your Workspace.
- Click Accounting in the Workspace menu.
- Click the three-dot menu next to Xero.
- Select Disconnect, then click Disconnect again to confirm.
After disconnecting, data previously imported from Xero will no longer appear in your Workspace.