


Connect To NetSuite
Connect your Expensify Workspace to NetSuite to streamline expense syncing, reporting, and accounting. This guide walks you through installing the bundle, enabling features, and finalizing the connection.
Note: You must have a NetSuite account and be on the Control plan in Expensify.
Before you begin, make sure:
- You can log into NetSuite as an administrator
- Each NetSuite subsidiary maps to a separate Expensify Workspace
- Your Workspace currency matches the NetSuite subsidiary’s default currency
- Employees submitting reports don’t need NetSuite access or licenses
Step 1: Install the Expensify bundle in NetSuite
- In NetSuite, go to Customization > SuiteBundler > Search & Install Bundles
- Search for Expensify and select the Expensify Connect bundle (Bundle ID
283395) - Click Install
- If already installed, go to SuiteBundler > List and update to the latest version
- Select Show on Existing Custom Forms for all available fields
Step 2: Enable Token-Based Authentication
- Go to Setup > Company > Enable Features > SuiteCloud > Manage Authentication
- Enable Token Based Authentication
- Click Save
Step 3: Assign the Expensify Integration Role
- Go to Lists > Employees
- Find and edit the employee who will connect the integration
- Under the Access tab, add the Expensify Integration role
- Click Save
Reminder: Tokens link to a user-role combination, not just a user. You must use the same user and role for all syncs after setup.
Step 4: Create access tokens
- In NetSuite, use the Global Search to search for
page: tokens - Click New Access Token
- Select Expensify as the application and the Expensify Integration role
- Click Save
- Copy and securely save the Token ID and Token Secret (you’ll only see them once)
Step 5: Enable Expense Reports in NetSuite
- Go to Setup > Company > Enable Features > Employees
- Ensure Expense Reports is enabled
- If not, check the box and click Save
Step 6: Set up Expense Categories in NetSuite
- Go to Setup > Accounting > Expense Categories
- If none are listed, click New to create them
Note: Expense Categories map to Expensify Categories and are linked to GL accounts for easy employee selection.
Step 7: Check Journal Entry transaction forms
- Go to Customization > Forms > Transaction Forms
- Edit the Standard Journal Entry form:
- Under Main tab, make sure:
- Created From is shown
- Display type is Normal
- Under Lines, ensure Receipt URL is shown
- Under Main tab, make sure:
- Repeat for all journal-type forms
Step 8: Check Expense Report transaction forms
- Go to Customization > Forms > Transaction Forms
- Edit the Standard Expense Report form:
- Under Main tab:
- Created From should be shown
- Under Expenses subtab:
- Receipt URL should be shown
- Under Main tab:
- Repeat for all expense report-type forms
Step 9: Check Vendor Bill transaction forms
- Go to Customization > Forms > Transaction Forms
- Edit your Vendor Bill form:
- Under Main tab:
- Show “Created From”
- Hide Department, Class, and Location
- Under Expenses subtab:
- Show Receipt URL, Department, Location, Class
- Under Main tab:
- Repeat for all vendor bill-type forms
Step 10: Check Vendor Credit transaction forms
- Go to Customization > Forms > Transaction Forms
- Edit your Vendor Credit form:
- Under Main tab:
- Show “Created From”
- Hide Department, Class, and Location
- Under Expenses subtab:
- Show Receipt URL, Department, Location, Class
- Under Main tab:
- Repeat for all vendor credit-type forms
Step 11: Set up Tax Groups (if applicable)
Things to note about tax:
- Expensify supports Tax Groups, not individual Tax Codes (except when using SuiteTax)
- Set Tax Code Lists Include to “Tax Groups And Tax Codes” or “Tax Groups Only” under Setup > Accounting > Set Up Taxes
- UK and Ireland: ensure each Tax Group contains only one Tax Code
To create a Tax Group:
- Go to Setup > Accounting > Tax Groups
- Click New
- Set the country, name, and subsidiary
- Choose a Tax Code and click Add
- Click Save
-
Repeat for each tax rate you want to show in Expensify
Step 12: Connect Expensify to NetSuite
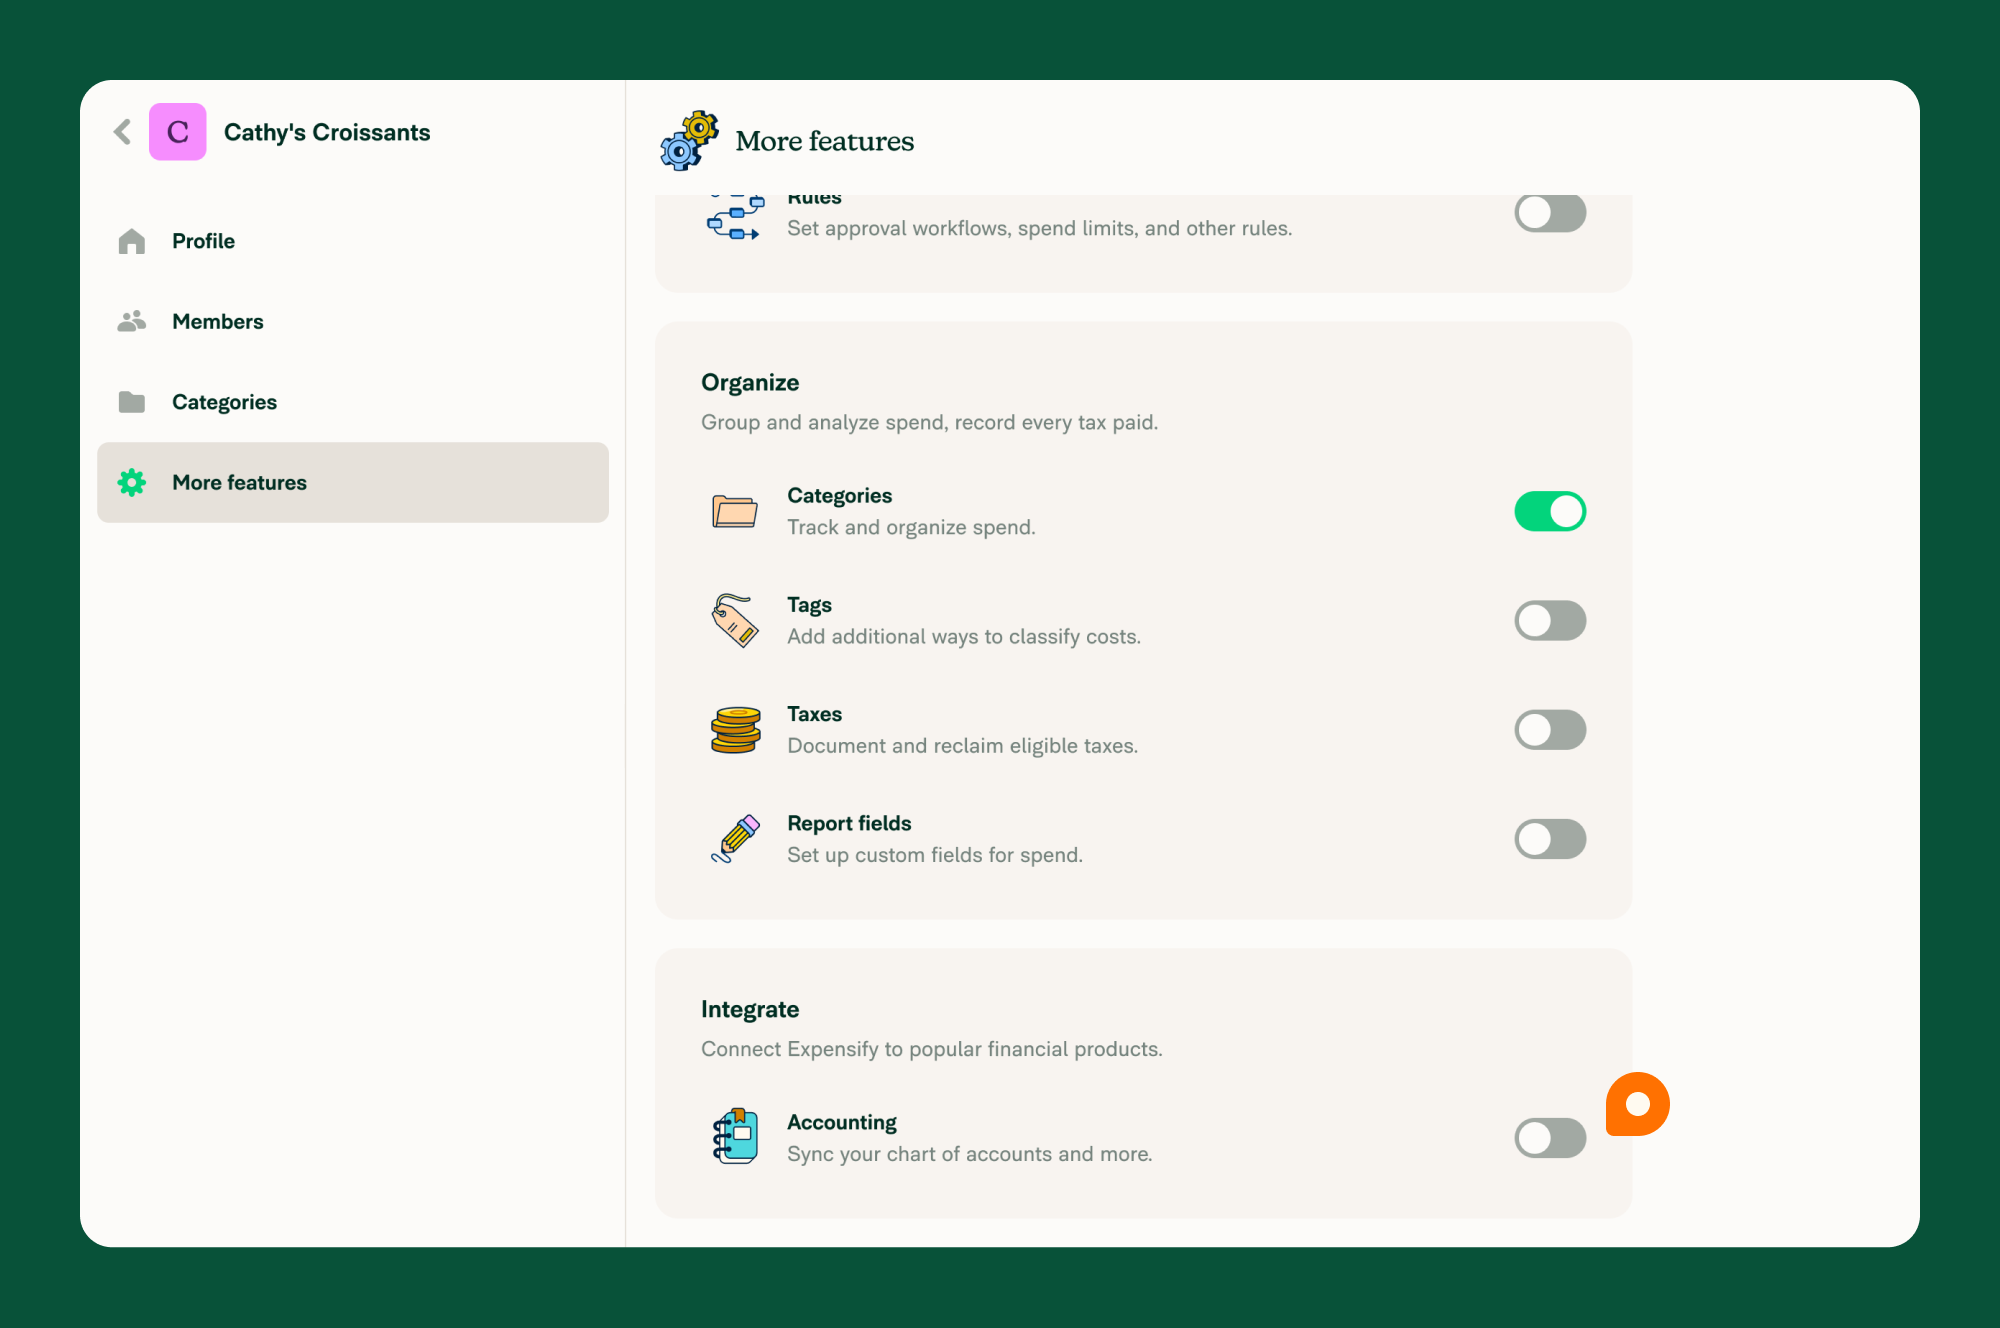
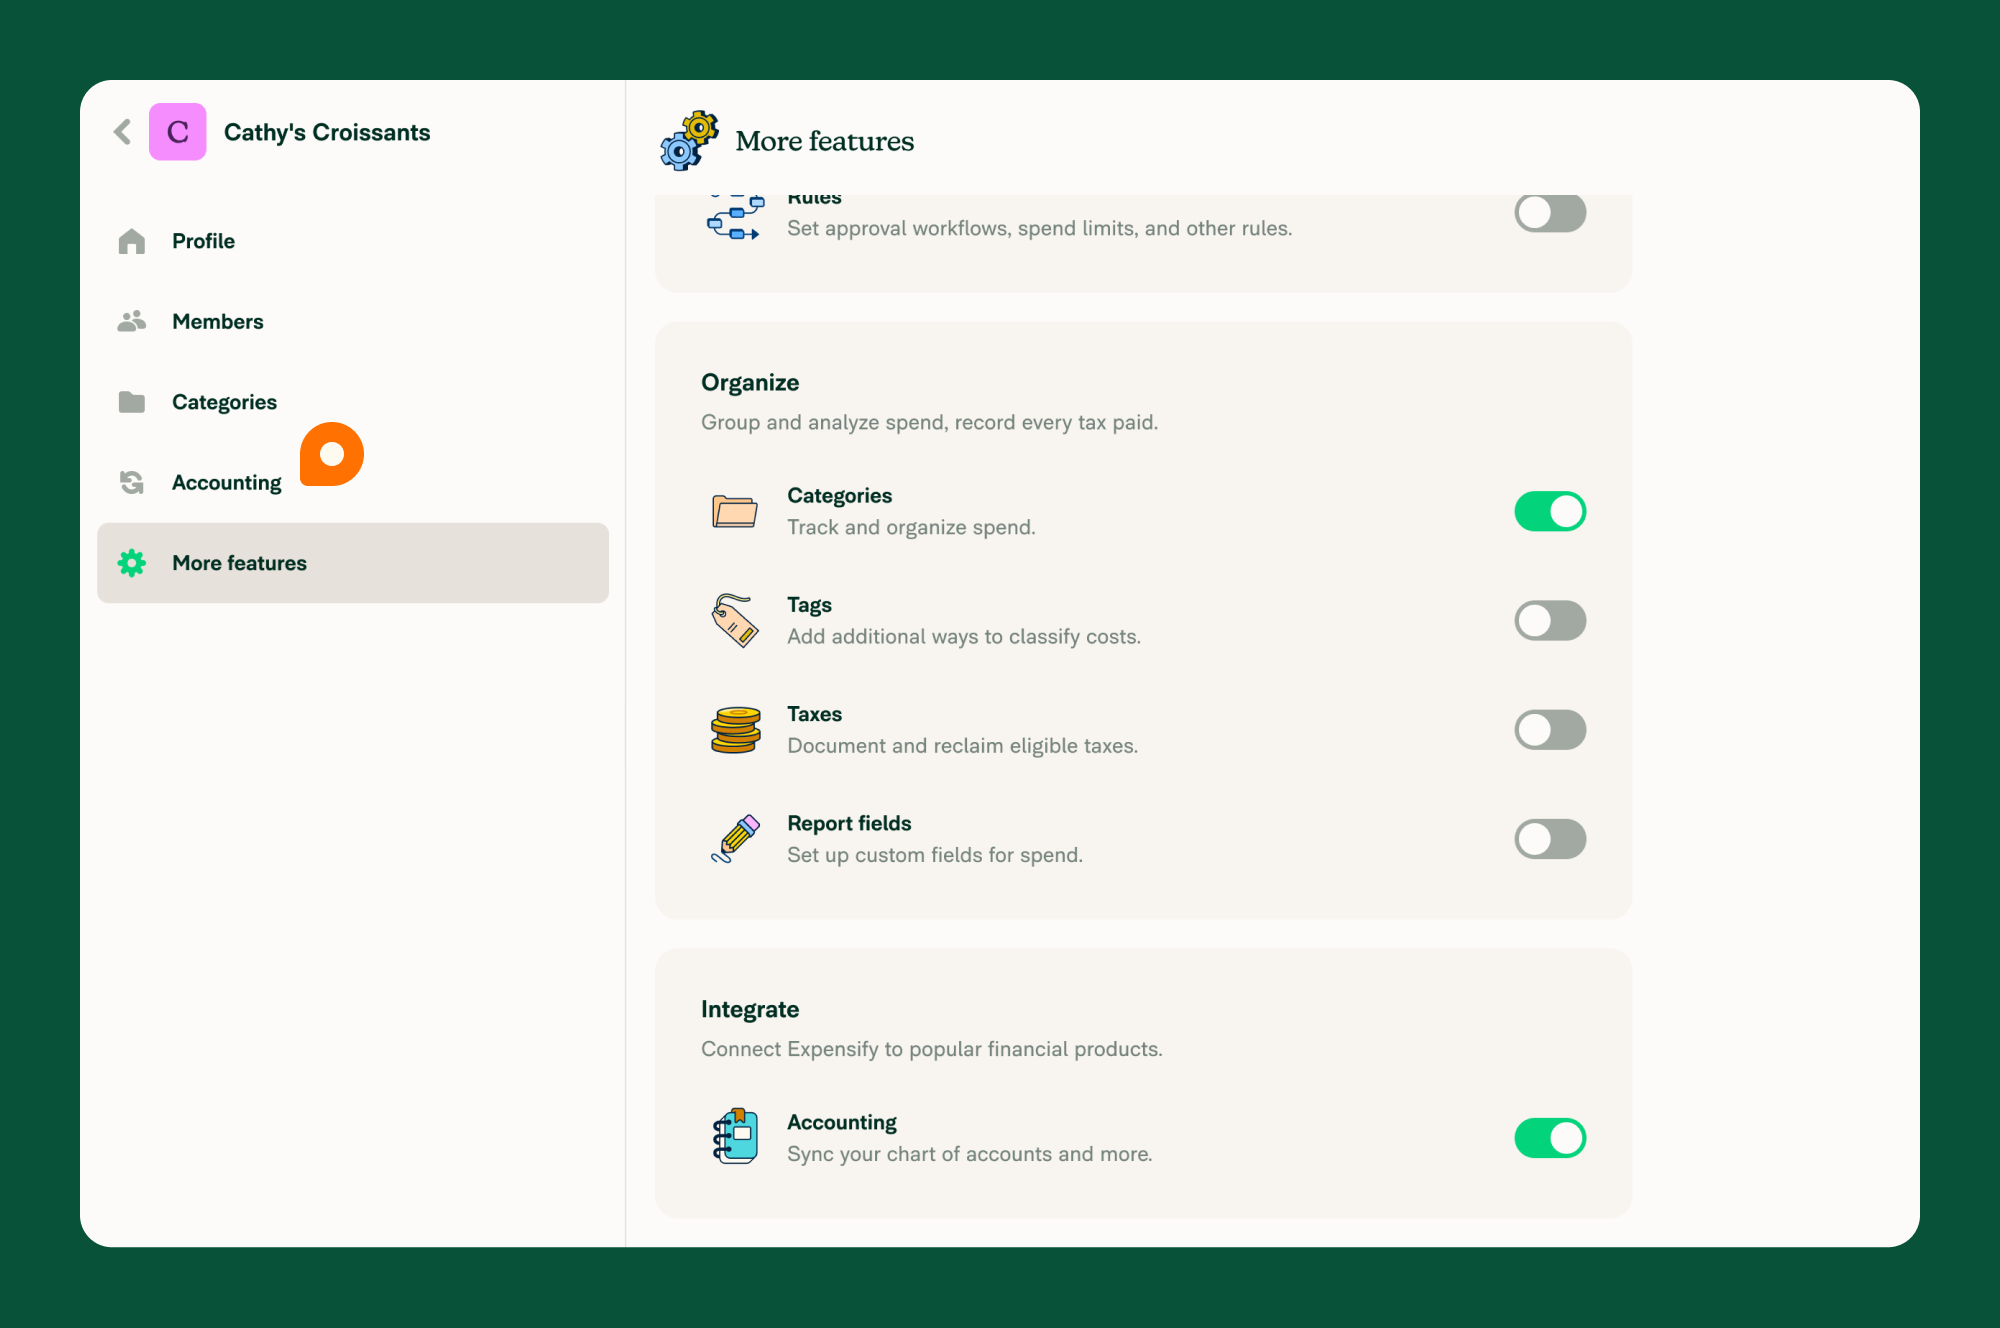
- From the navigation tabs (on the left on web, and at the bottom on mobile), go to Workspaces > [Workspace Name] > Accounting
- Click Connect next to NetSuite
- Click Next through setup steps 1–4
- On Step 5, enter:
- NetSuite Account ID
- Note: If connecting to a Sandbox environment, in the Account ID, ensure the “s” and “b” are always capitalized and the hyphen “-“ is replaced by an underscore “_”. So “123456-sb1” would be “123456_SB1”.
- Token ID
- Token Secret
- Click Confirm
You can find your Account ID in NetSuite under Setup > Integration > Web Services Preferences.
After Setup
- The NetSuite connection syncs within 1–2 minutes
- Newly approved and paid reports will export to NetSuite via SOAP Web Services
- Continue with configuring settings by visiting: Configure NetSuite in Expensify
FAQ
How do I ensure smooth import of customer and vendor data from NetSuite?
Set the Page Size to 1000 in NetSuite. To do this:
- Go to Setup > Integration > Web Services Preferences
- Search for and update the Page Size setting