


Connect to QuickBooks Online
To use the QuickBooks Online connection, you must have a QuickBooks Online account and an Expensify Collect plan.
The QuickBooks Online connection also works with Intuit Enterprise Suite.
The QuickBooks Self-Employed subscription is not supported.
Supported QuickBooks Online Features
Expensify’s QuickBooks Online integration includes different features depending on your subscription level. While some options may appear in the app, you’ll see an error if your plan doesn’t support them.
| Feature | Simple Start | Essentials | Essentials Plus | Intuit Enterprise Suite |
|---|---|---|---|---|
| Expense Reports | ✅ | ✅ | ✅ | ✅ |
| GL Accounts as Categories | ✅ | ✅ | ✅ | ✅ |
| Credit Card Transactions | ✅ | ✅ | ✅ | ✅ |
| Debit Card Transaction | ✅ | ✅ | ✅ | |
| Classes | ✅ | ✅ | ✅ | |
| Customers | ✅ | ✅ | ✅ | |
| Projects | ✅ | ✅ | ✅ | |
| Vendor Bills | ✅ | ✅ | ✅ | |
| Journal Entries | ✅ | ✅ | ✅ | |
| Tax | ✅ | ✅ | ✅ | |
| Billable | ✅ | ✅ | ||
| Location | ✅ | ✅ |
Step 1: Set up employees or vendors in QuickBooks Online
Before connecting, make sure employees/vendors are set up correctly in QuickBooks Online using the same email address they use in Expensify.
To do this:
- Log into QuickBooks Online.
- Go to Payroll > Employees, or Expenses > Vendors
- Add or edit employees or vendors as needed (method may vary by country).
Step 2: Connect Expensify to QuickBooks Online
To connect your workspace:
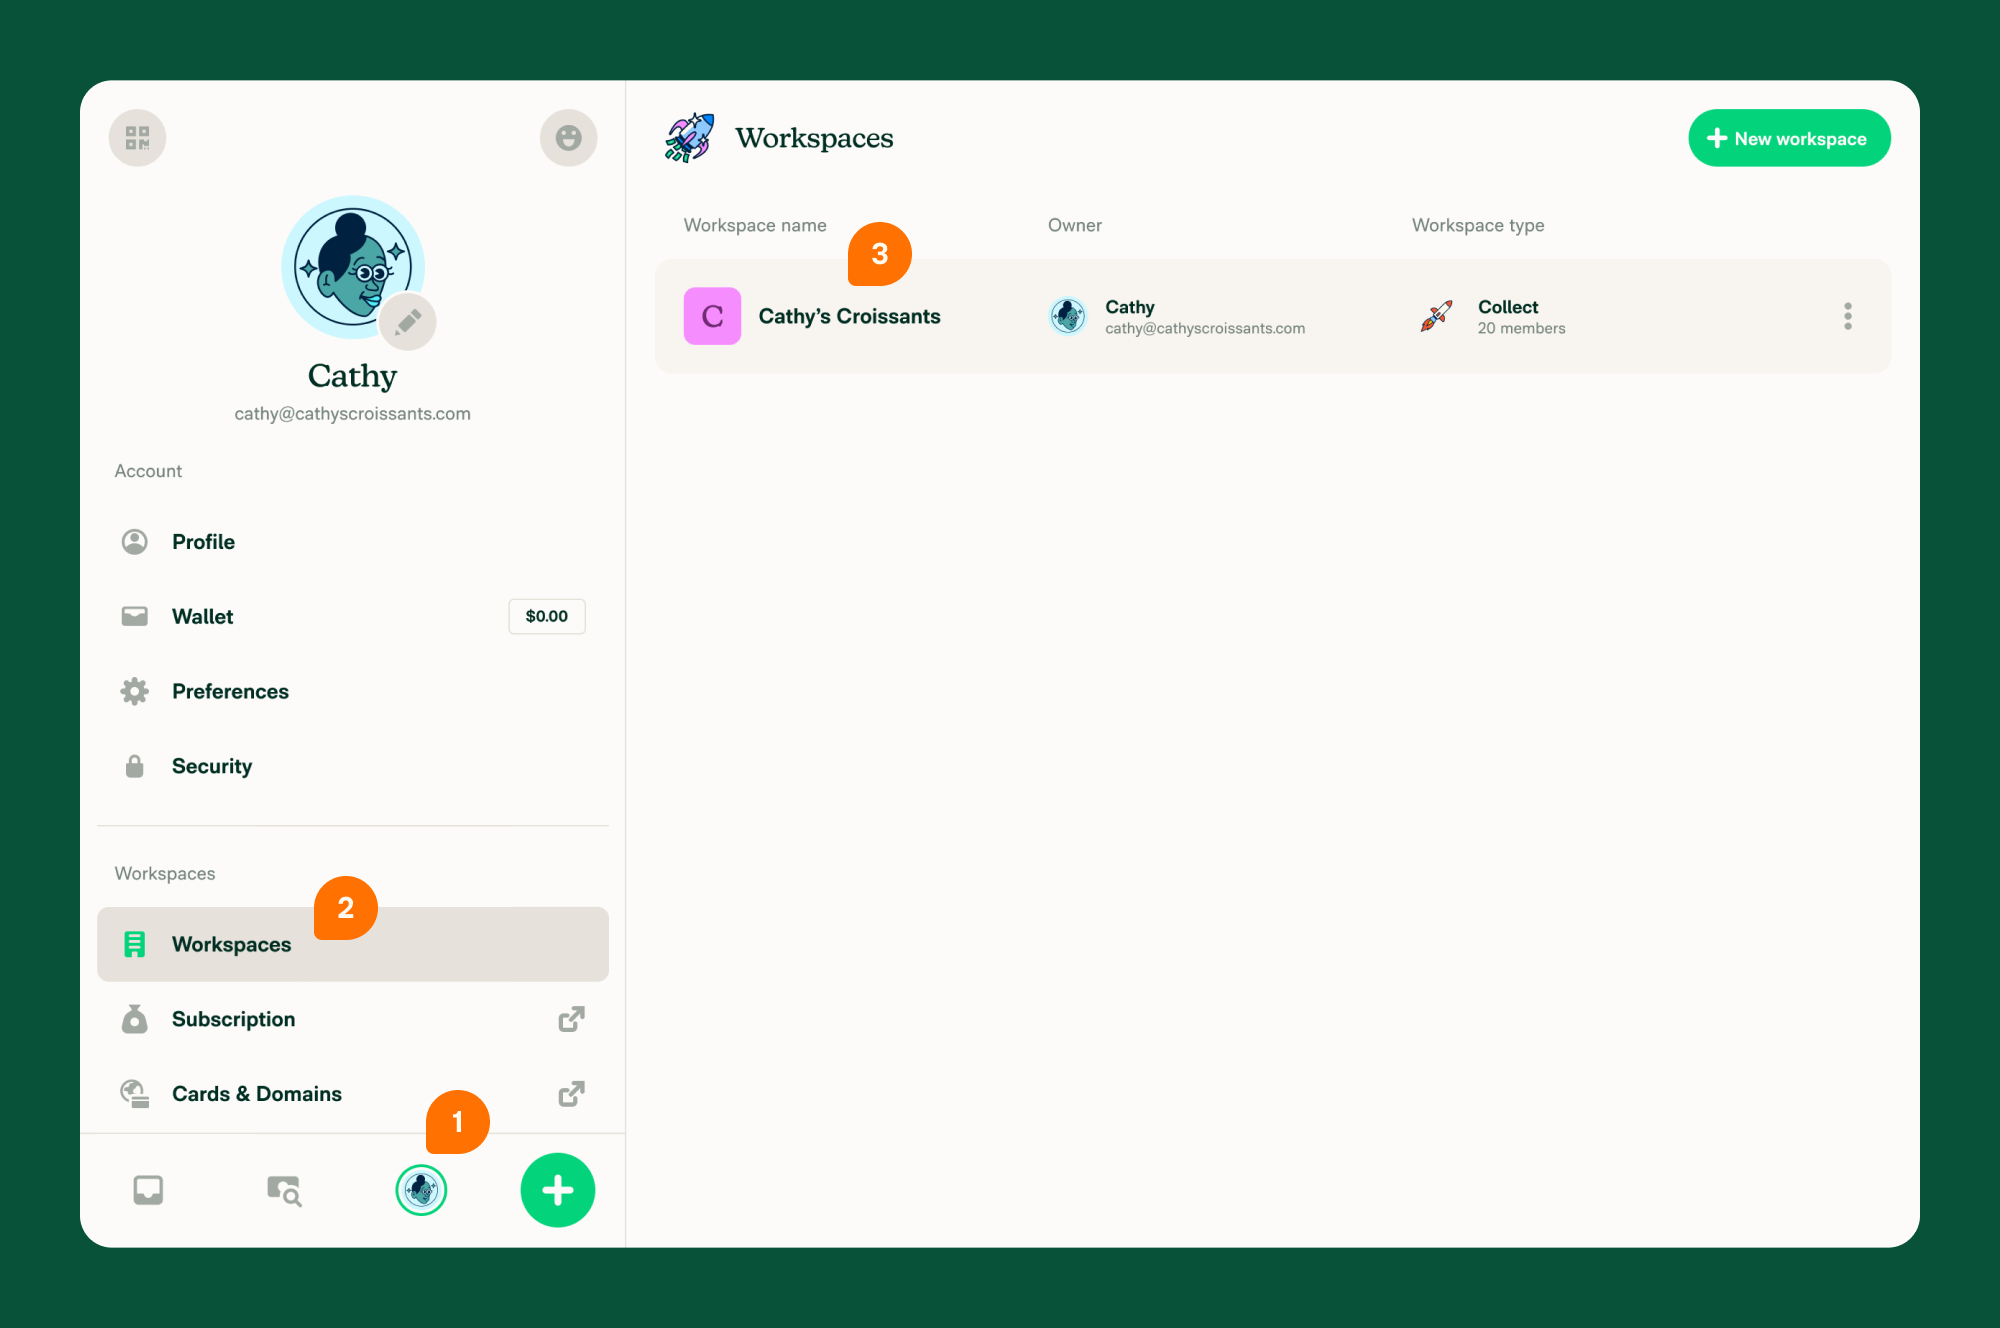
- From the navigation tabs (on the left on web, and at the bottom on mobile), go to Workspaces
- Select your Workspace
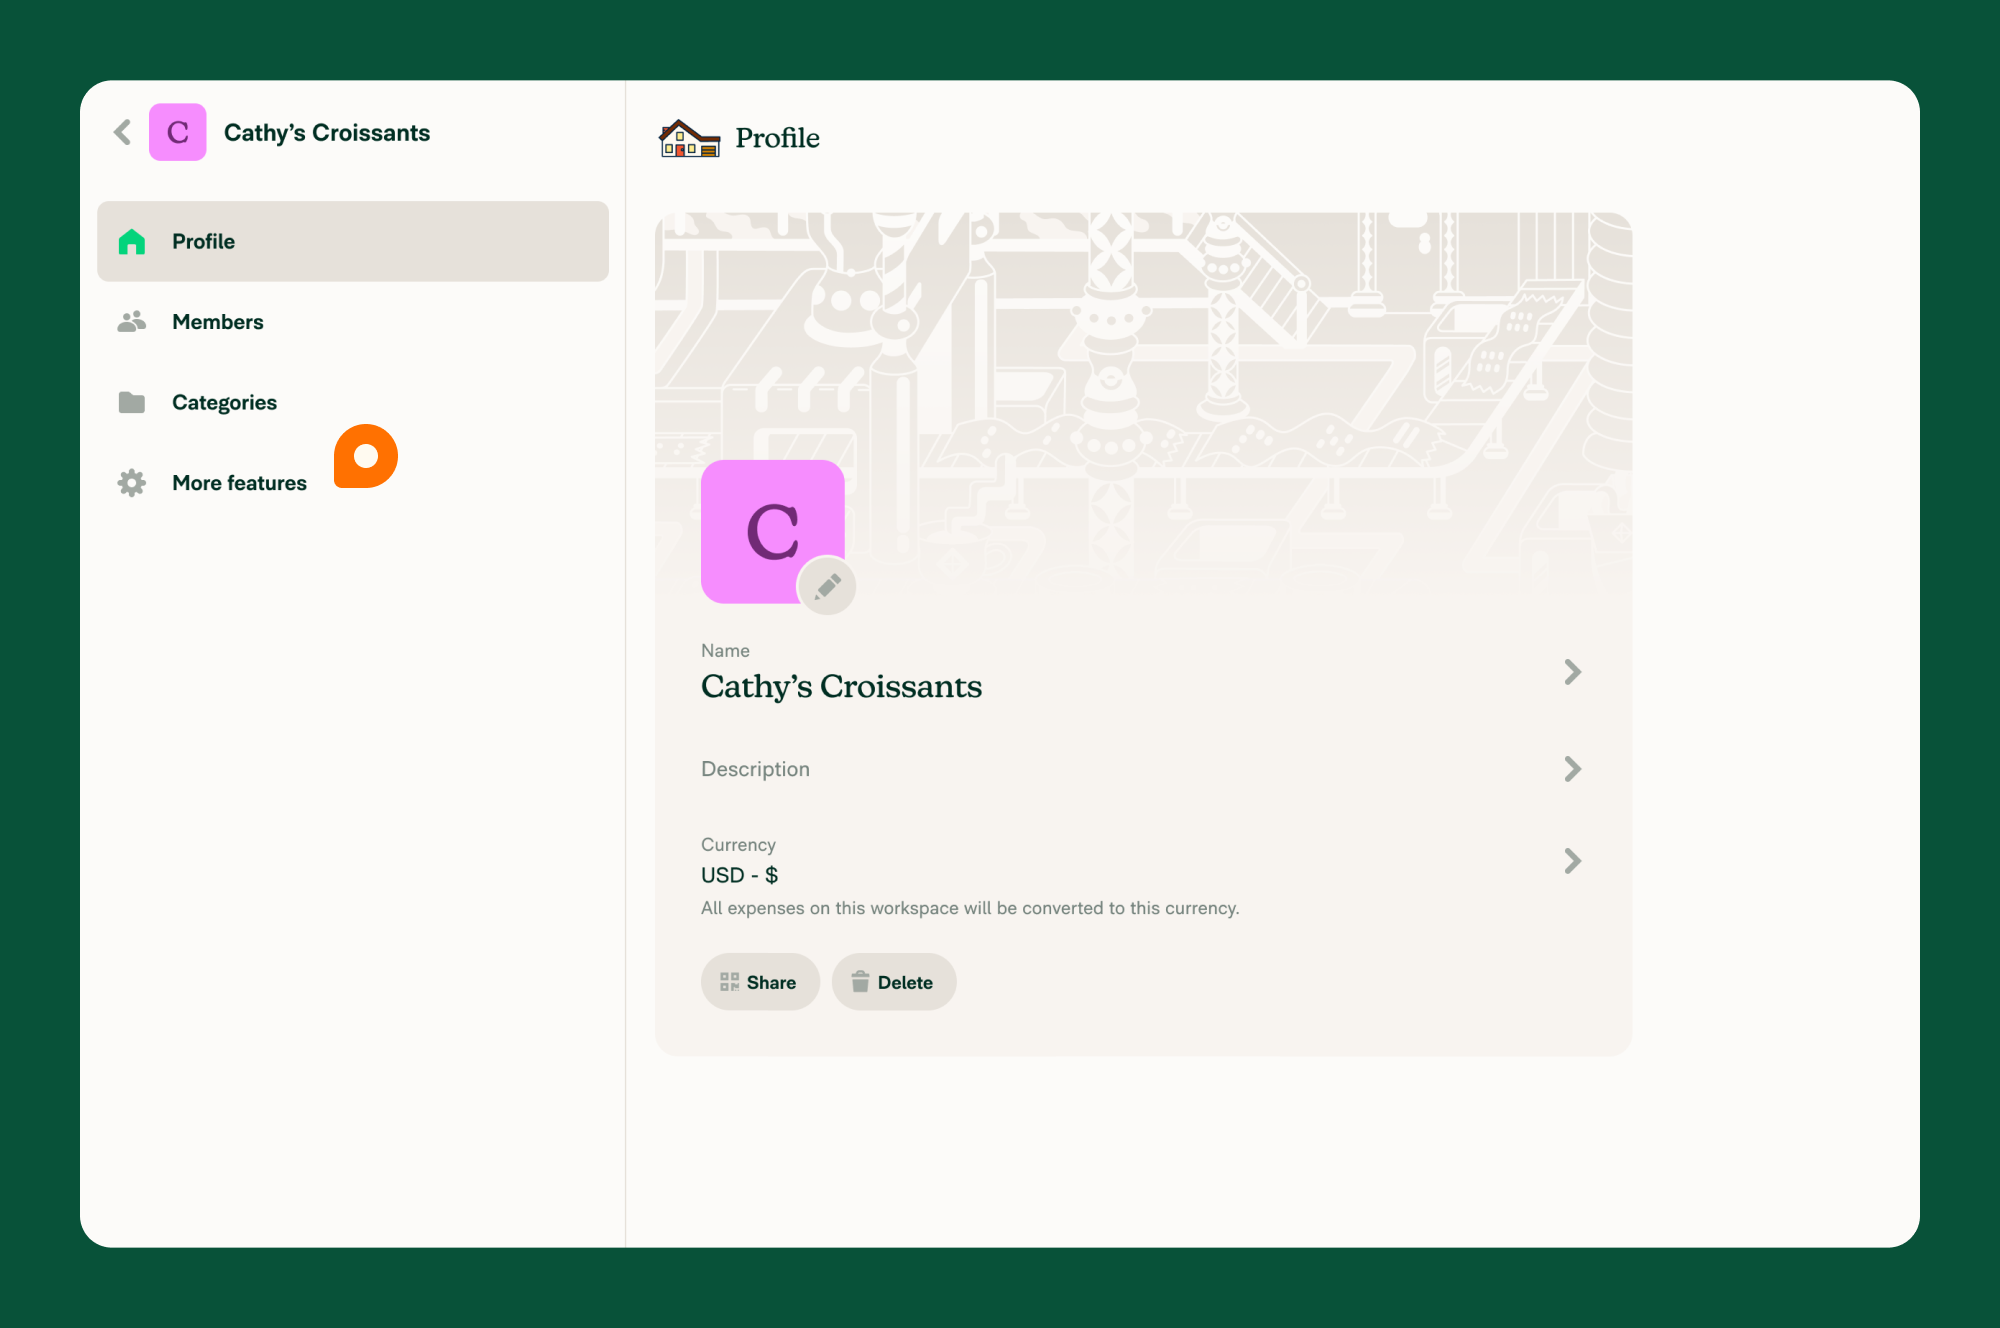
- Click More features
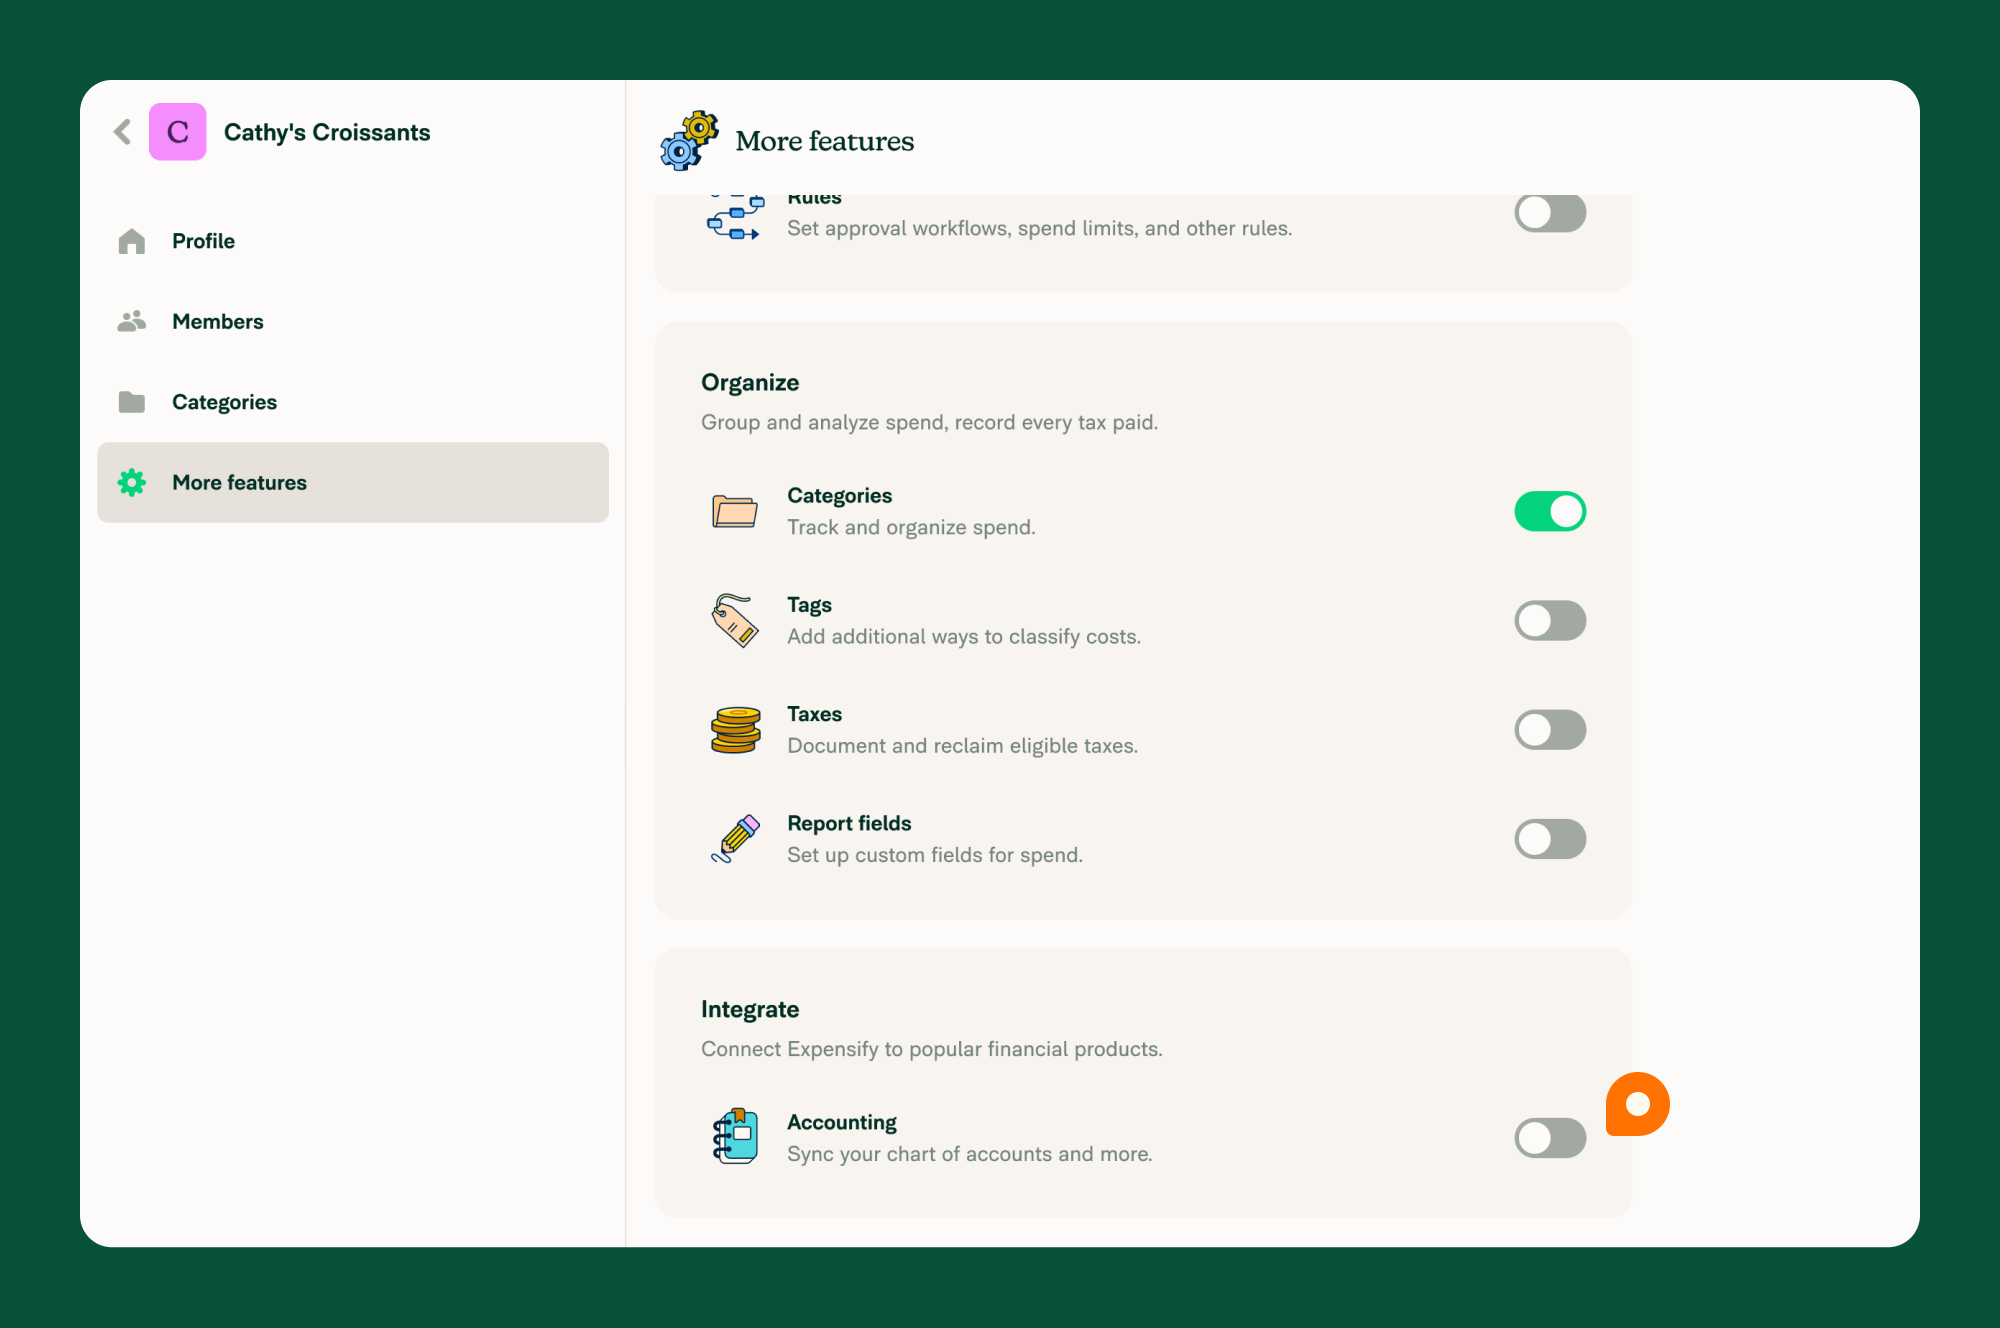
- Scroll to Integrate and enable the Accounting toggle
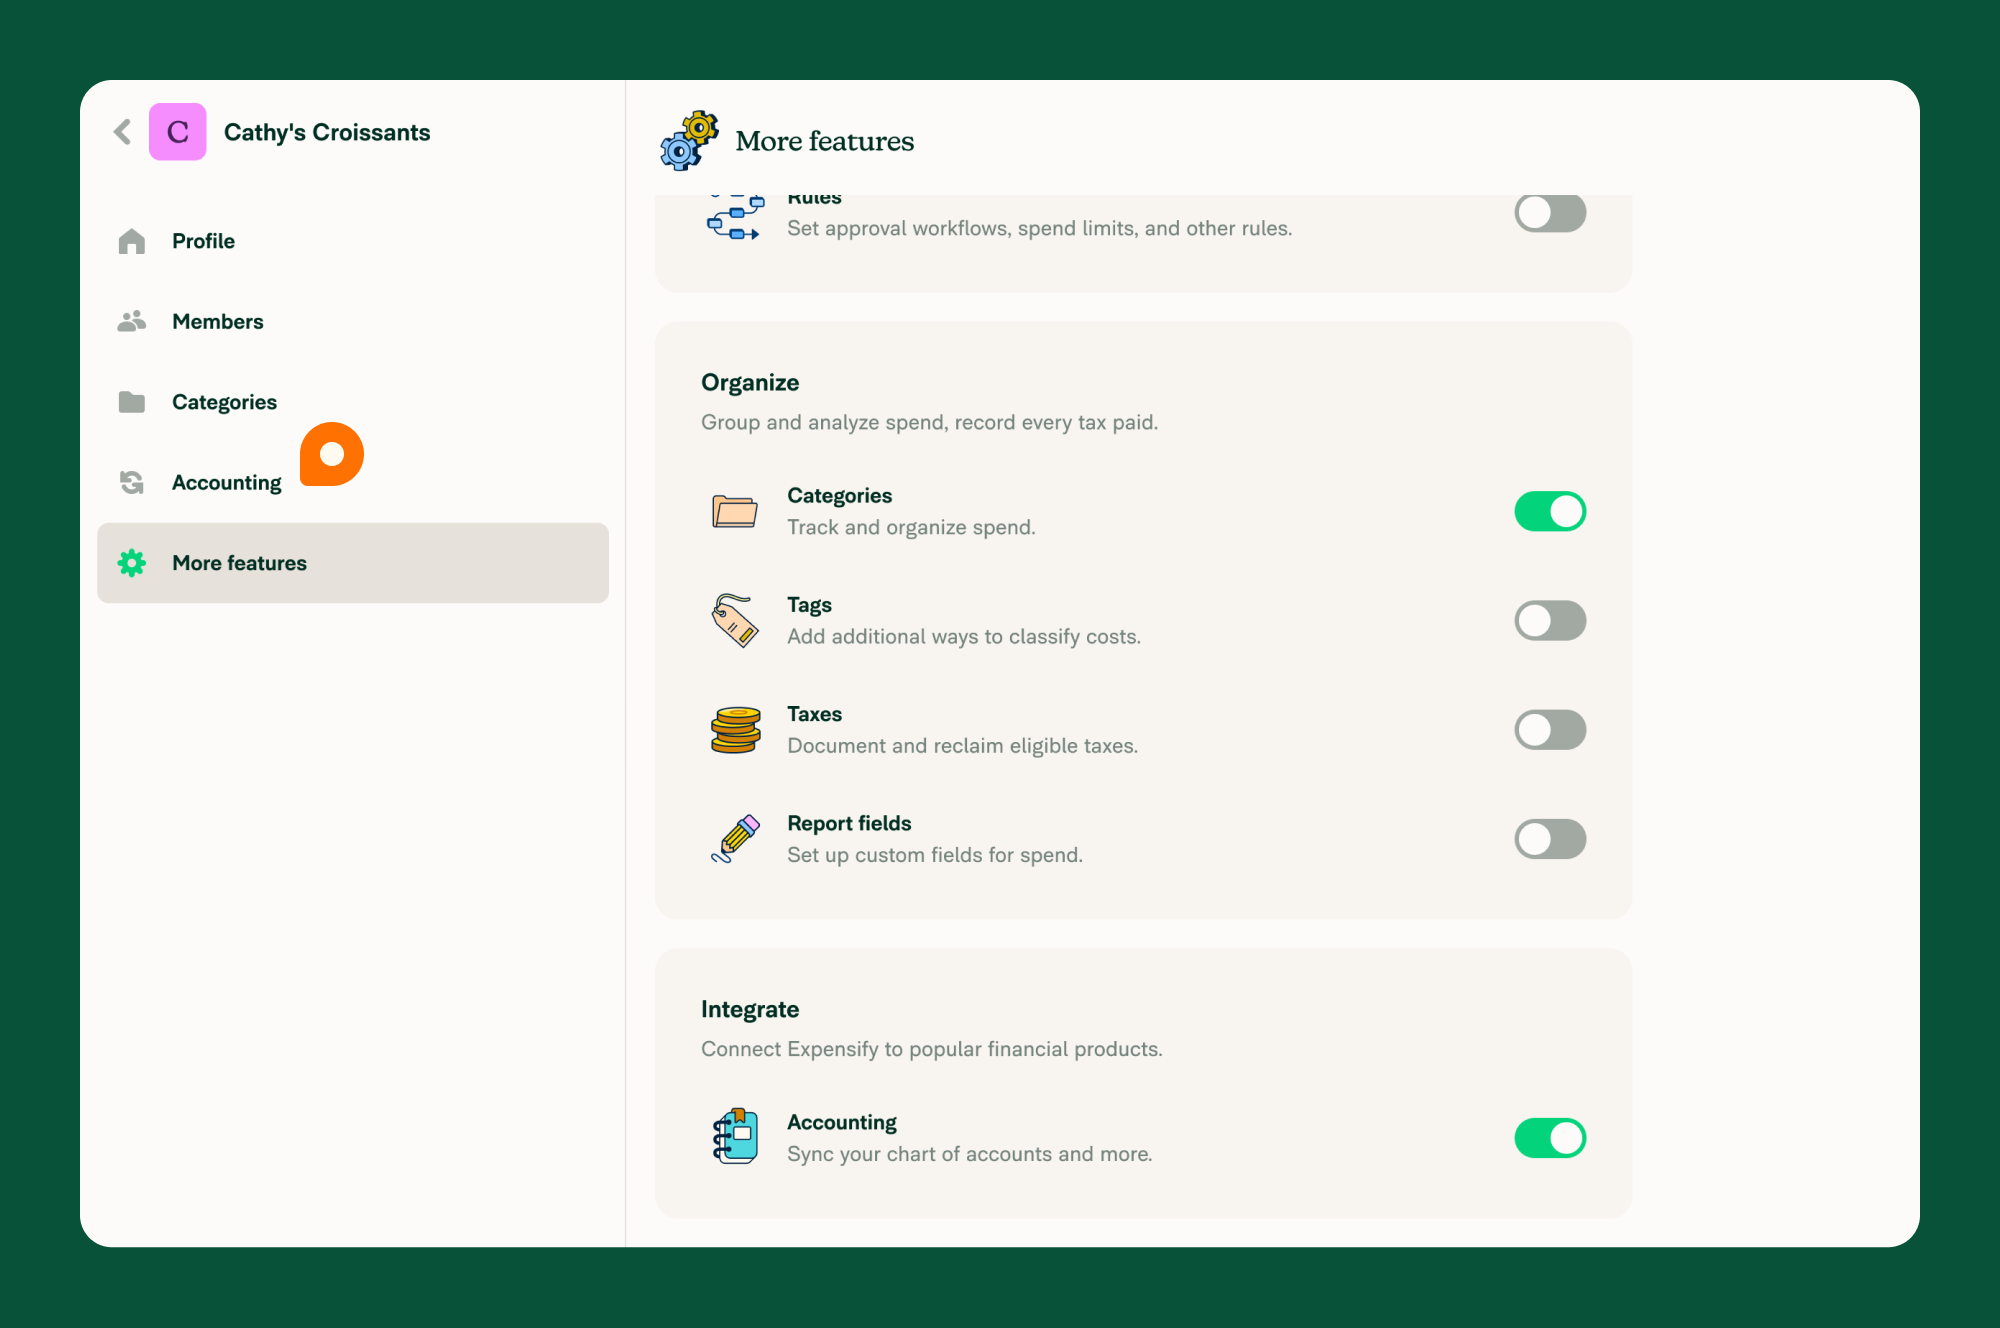
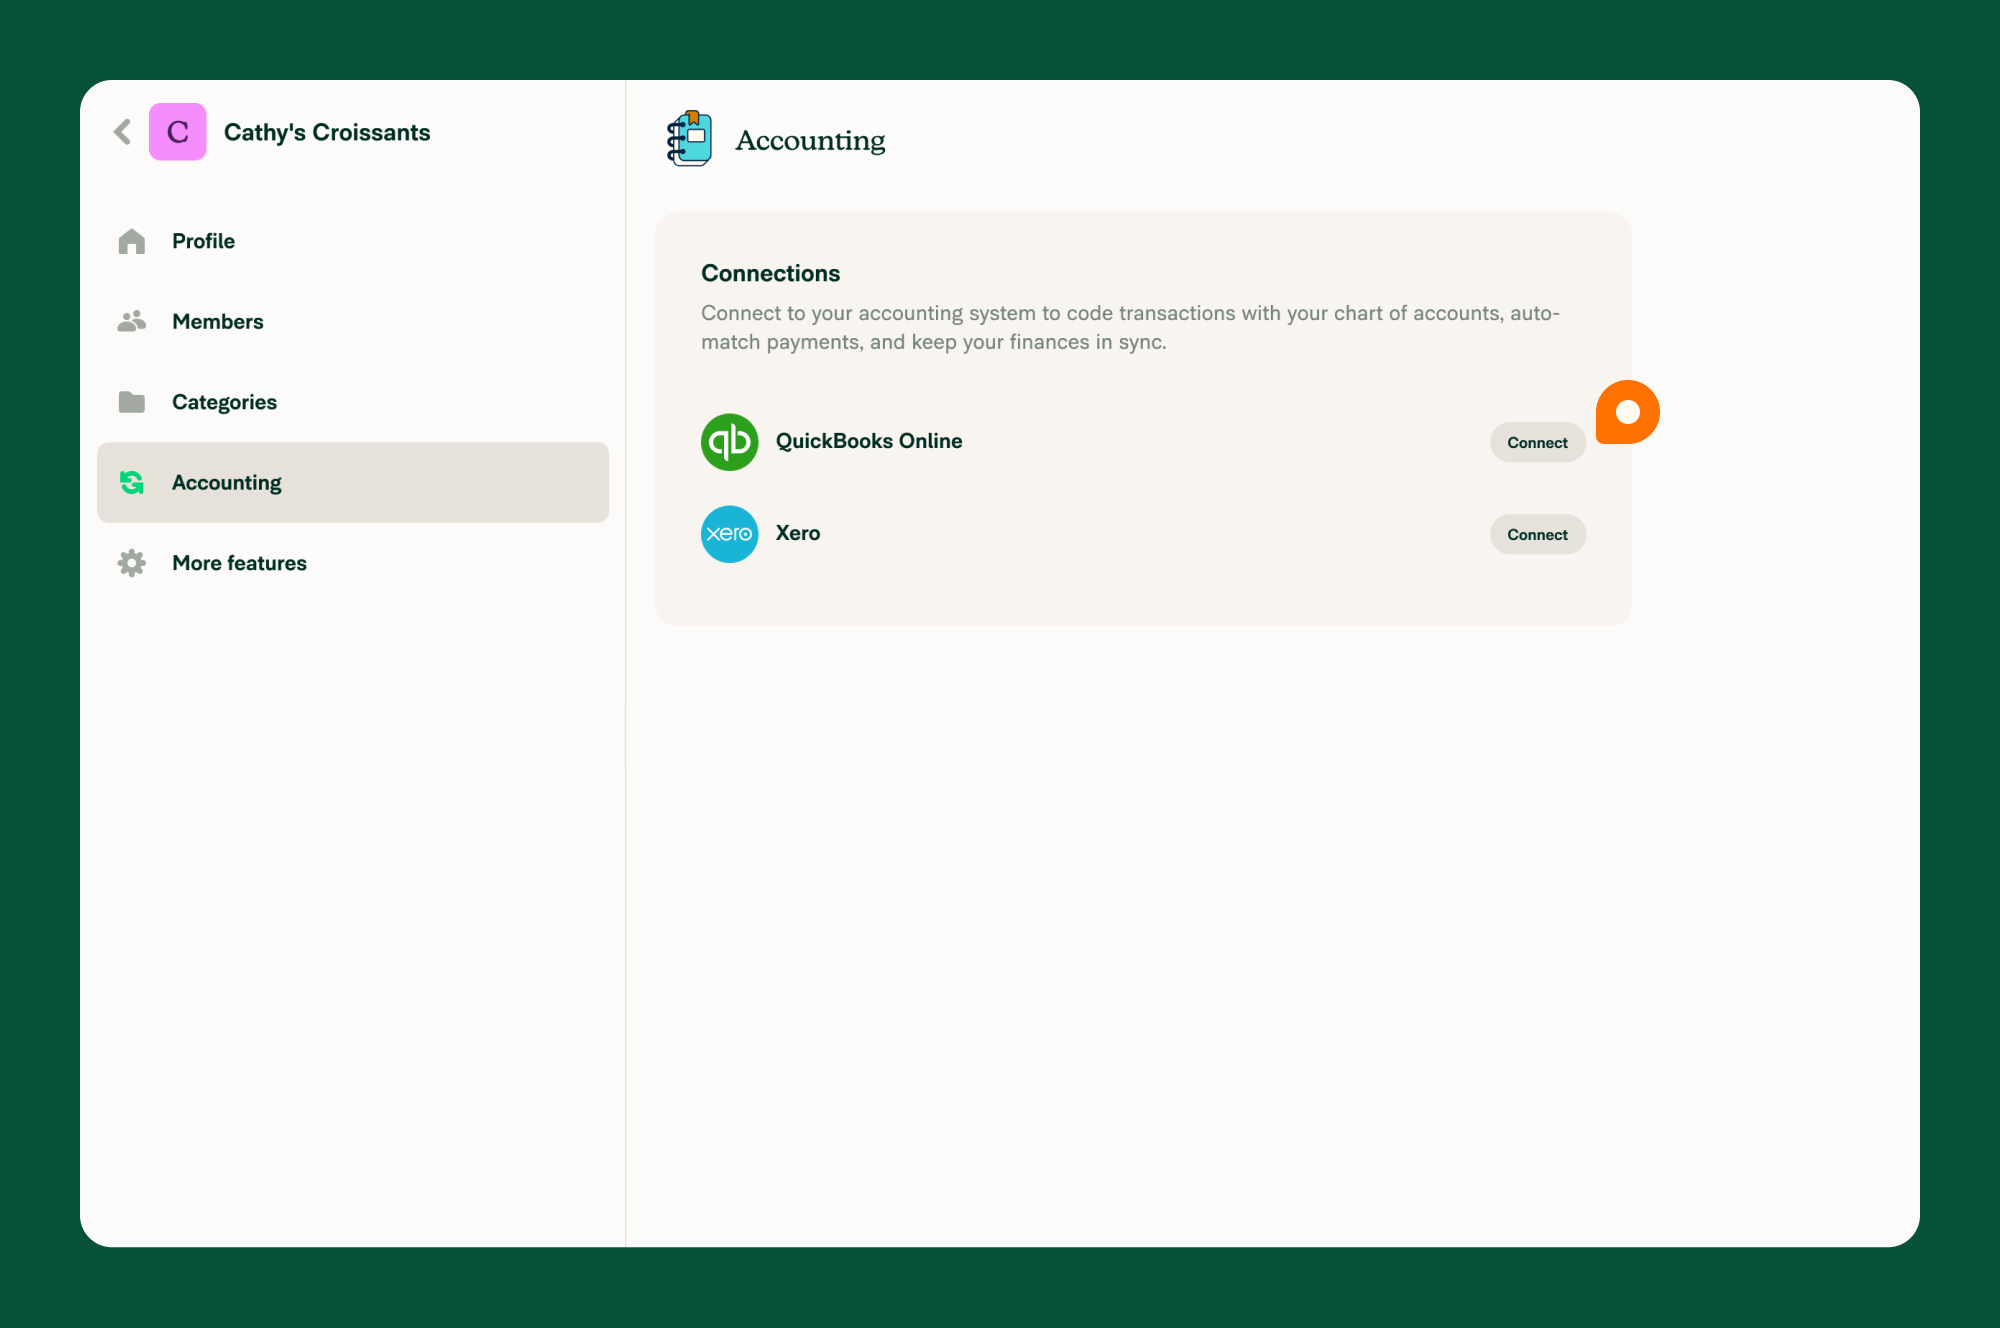
- Click Accounting in the left-hand menu
- Click Set up next to QuickBooks Online
- Log in with your Intuit credentials when prompted
This will enable the connection between QuickBooks Online and import your settings into Expensify.
FAQ
Why do I see a red dot next to the QuickBooks Online connection?
A red dot means there’s a connection error. You’ll see this:
- Next to Accounting in the left-hand menu
- On the QuickBooks Online connection card
This usually happens if the login details were entered incorrectly.
To fix it:
- Click the three-dot icon next to the QuickBooks Online connection
- Select Enter credentials
- Enter your Intuit login again to reconnect